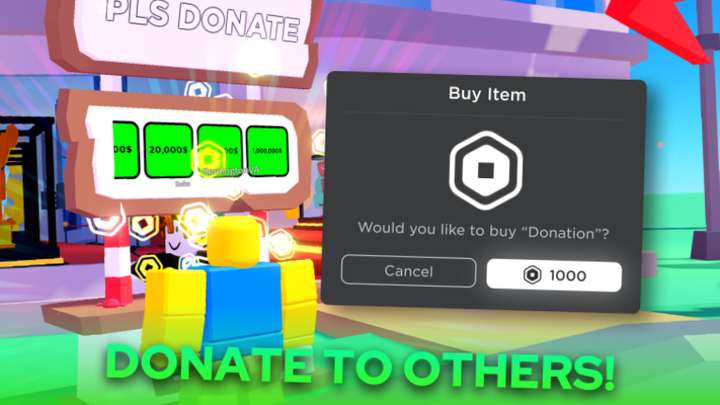
Want to know how to set up a stand in Pls Donate? Good news - you're in the right spot. Whether you're a newcomer or a veteran Roblox player, you're probably eager to rake in those donations. I mean, why wouldn't you? It's one of the best ways to get free Robux in Roblox!
But where must you begin? Lucky for you, we've got the perfect, detailed guide on how to set up your stand in Pls Donate. From there, you'll be well on your way to spending free Robux to your heart's content on the Roblox Marketplace. Let's dive right in!
Table of Contents
How To Get A Stand In Pls Donate Roblox
First things first, you'll first need to find an unclaimed stand in Pls Donate. You can't miss it because it will have "unclaimed" written on it. When you're near an unclaimed stand, either hover your mouse over it or hold down the 'E' key. By doing this, you'll claim the stand, and it will now officially be yours.
Now that the stand is yours, you'll notice a section above the stand for donation buttons. If you're new to this, chances are you won't have any buttons displayed yet. No worries, we'll guide you on how to add them in a later section of this guide.
Customizing Your Stand
Want to add a personal touch? You can customize the text at the top of your stand. Simply approach the stand, hold 'E,' or click on it, and you'll be given the option to edit your stand's text. Type in a cool message, hit 'apply,' and watch as your stand truly becomes your own!
Don't stop there; you can also change the appearance of your booth. Dive into the settings, choose your desired booth model, and make your stand pop. Want more booth models? You can purchase them in the Booth Shop.
Alright, now for the juicy part: adding donation buttons. Here's where things get interesting. To add a donation button, you'll need to step away from the game for a moment. Exit Roblox and head over to the Roblox website.
How To Set Up Donation Buttons In Pls Donate Roblox
To set up donation buttons in Pls Donate, you'll need to sell something on Roblox. The easiest way? Game Passes. While selling items like shirts can cost you 10 Robux upfront, putting a game pass up for sale is completely free. Here's how to do it:
- Go to the top of the Roblox page and click on the 'Create' button.
- You might be redirected to various pages, but your goal is to get to the 'Creations' page. If you're not taken there directly, type 'create.roblox.com' in your address bar and press enter.
- On the Creations page, make sure the 'Experience' tab is selected. You'll find a default feature that all Robux players have: a place. Click on it.
- Now, within your place, you'll want to create a Game Pass. Head to 'Associated Items' on the left, then select 'Passes.'
- Click on 'Create A Pass.' You'll need to upload an image, name, and description. Make sure your image and name follow Roblox's rules. Consider naming it something cool since donors will see this name. For the description, a simple "Thank you for donating" works wonders.
- Once you've filled in all the details, click 'Create Pass.'
- Make sure your Game Pass is on sale. Click on it, go to 'Sales' on the left, toggle on 'Item For Sale,' and set your desired donation price (e.g., $10). Keep in mind that Roblox does take a percentage of your sales, so factor that into your pricing.
With that done, head back to Pls Donate, claim a stand, and behold! Your donation button, showcasing the game pass you just created, will be proudly displayed. Want multiple donation options? Just repeat the game pass creation process for each donation amount you desire.
And that's how to set up a stand in Pls Donate. If you've found this guide helpful in your quest to understand, please consider sharing it with your fellow gamers. We want to extend a massive thank you to the YouTuber Guide Realm. You can watch their step-by-step video below for a visual walkthrough.

 No ads, our video library,


