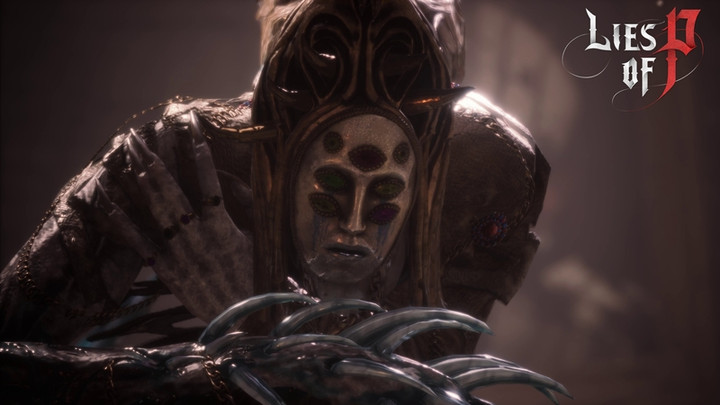
Lies of P features numerous and formidable bosses within the city of Krat, each presenting varying degrees of challenge. Among them, Archbishop Andreas stands out as a particularly formidable obstacle, posing a significant difficulty spike for all players. While his downfall may evoke a sense of tragedy, it is incumbent upon the players to relieve this fallen saint of his suffering.
To that end, this guide is intended to assist you in achieving your objective. Below, we will provide a detailed breakdown of the strategies necessary to defeat Fallen Archbishop Andreas in Lies of P. Without any further delay, let's delve right in and demonstrate precisely how to overcome this formidable boss.
Fallen Archbishop Andreas Location in Lies of P
You'll engage in a battle against the Fallen Archbishop Andreus within St. Frangelico Cathedral, which is the fourth zone in Lies of P. As you delve deeper into this intricate sanctuary, you'll come across various monsters and obstacles that inflict the Decay status effect. This serves as a precursor to what you can anticipate in the upcoming battle.
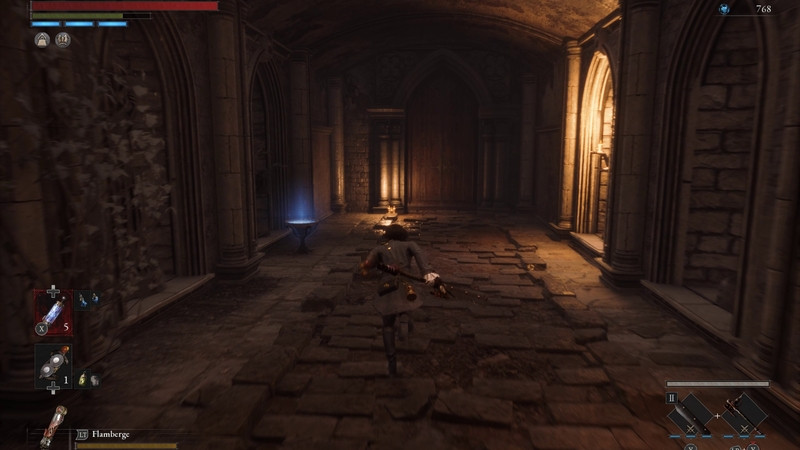
Evidence of Andreus's presence in the area is abundant, from NPCs discussing him to collectibles mentioning his Grace. He stands as one of the game's most formidable bosses, featuring three challenging phases. Let's break down each phase along with strategies for safely navigating them and defeating this fallen saint.
How To Beat Fallen Archbishop Andreas
As previously mentioned, Fallen Archbishop Andreus ranks among the most formidable bosses in the game, taking on the form of a colossal creature that gradually reveals its true nature throughout its phases. First, you must entirely defeat him during his initial monstrous phase.
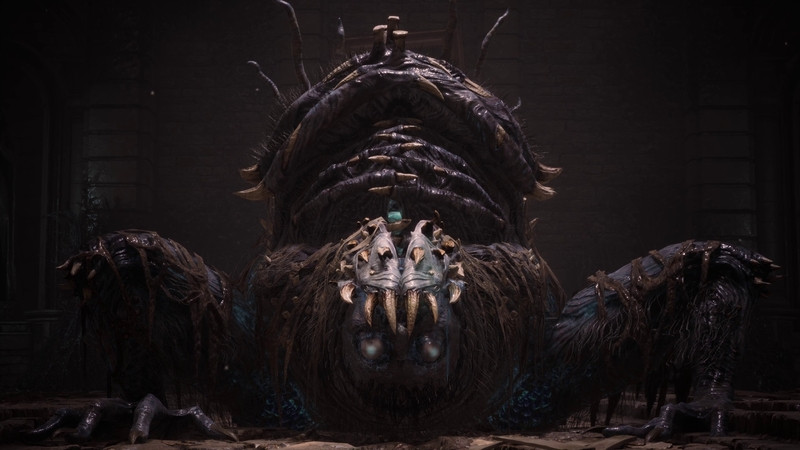
Afterward, he emerges from the creature's back as a snake-like humanoid entity with no facial features (Phase 2). Once you've depleted half of his HP during this second phase, he alters his attack patterns and introduces two new moves that demand your attention (Phase 3). Let's dissect each phase below, including the moves you should watch out for.
Fallen Archbishop Andreas Phase 1:
This is the easiest segment of the boss fight, although it remains quite challenging and may require several attempts to master. The Archbishop possesses several moves that you must memorize to overcome his first phase:
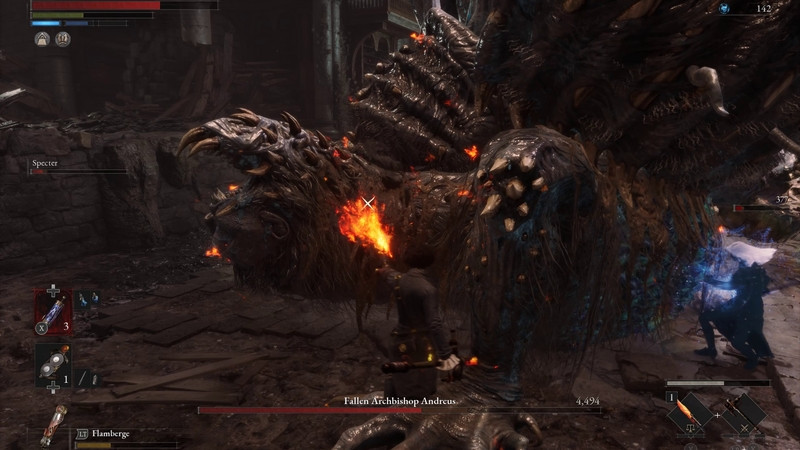
- Three Hit Opener: The Archbishop often initiates this move if you don't approach him at the start of the battle. He begins by lowering his right leg, followed by his left leg, then his right leg again, and concludes with a sweeping motion of his left leg. Moreover, he often continues the combo by launching another leg attack immediately afterward, so exercise caution.
- Crash And Sweep: Among the three moves, this one is the easiest to evade or parry. The Archbishop elevates his right leg high and smashes it into the ground at the player's location. There's ample time to dodge or move to the left or right to avoid this attack. About a second later, the boss sweeps with his other leg, which can be dodged with precise timing.
- Screaming Combo: This movie begins with the boss's scream. After the scream, he promptly swipes at the player with his right leg in a downward motion, then slams down with the same leg. After a brief delay, he employs the other leg for a sweeping attack. You must anticipate the impending attack by relying on the scream.
- Tongue Slam: The boss employs his extended tongue to strike down the player.
- Tongue Sweep: The boss moves his head to the player's right side and performs a sweeping motion with his tongue.
- Long Tongue Sweep: Similar to a tongue slam setup, the boss raises his head as if preparing for a tongue slam but moves it far to the right, executing a longer-range tongue sweep.
- The Ground Slam: This is a two-part attack by the boss that inflicts significant damage. The Archbishop screams at the player and slightly recoils. He elevates his body and aims towards the player, preparing to rush and slam into them. Following the slam, the bishop employs his left leg for a sweep. A subtle twitch by the boss just before slamming is your cue to execute a block and perform a Perfect Guard. There's some time available to land an attack before dodging the subsequent move.
- Seeking Ground Slam: Among the three slams, this one is the trickiest to evade, so it's advisable to learn how to parry it. The boss rises on its legs, tilts towards the player while flashing red, and, after a brief pause, covers a substantial distance to slam directly where the player stands. Running away may help avoid the attack, but it's not always effective, especially when close to the enemy when the animation begins. Parrying can be achieved by timely blocking when you see the underside of the boss.
- Stationary Slam: During this attack, the boss stands up, doesn't face the player, and then returns to a seated position. You needn't worry about parrying this move, as it's relatively easy to dodge. Simply move slightly back from where the boss is, and you'll remain unscathed. However, distinguishing between the Seeking Slam and Stationary Slam can be challenging, so exercise caution.
- Backward Slam: Among the three slams, this is the easiest to evade. The boss rises and tilts slightly forward until it's directly above the player. The key to evading this move is to dodge behind the boss instead of attempting to move in front of it.
Fallen Archbishop Andreas Phase 2:
In the second phase, Andreus emerges from the creature's back, revealing his featureless face. During this phase, players must confront either the humanoid or the monster part of the boss at different times. Each has its own set of moves that require memorization:
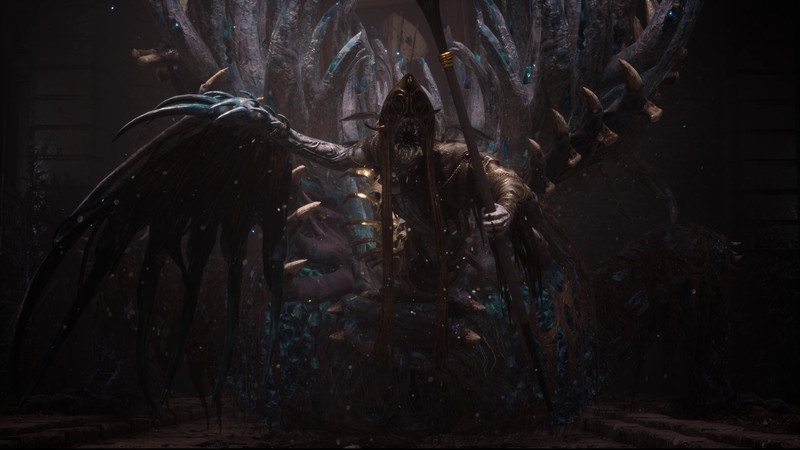
Humanoid Attacks:
- Long Stab: The boss withdraws and winds up, extending his staff toward the player, then rushes forward to deliver a stabbing attack. Parrying is possible but requires timing adjustments depending on the player's distance. Dodging is often the more straightforward approach since the boss maintains his trajectory once the attack commences.
- Staff Grind: The boss places his staff on the ground and traverses the map while grinding it along the way. This attack typically doesn't harm the player unless they are in very close proximity to the boss.
- Sweeping Attacks: The boss executes various sweeping attacks with his staff and wing, originating from both the left and right sides and occasionally combining both in succession. These attacks are generally easy to evade or parry.
- Staff Slam: The boss ascends into the air, waits briefly, and then slams down, creating a small shockwave. This attack is sometimes employed as a fury attack but can be evaded effortlessly due to its limited range.
- Sweep Recover: After dealing some damage to the boss, he performs a sweeping attack and changes orientation while moving backward, positioning the monster portion to face the player.
- Walk Slam (Fury Attack): The boss stands and begins walking towards the player, eventually executing a ground slam. Evading this attack is achievable by moving underneath the boss and positioning oneself behind it. Afterward, you will face the monster part of the boss.
Monster Attacks:
- Horn Rush: The monster draws back its head and charges at the player with a slight delay. Often, it follows this up with tongue slam and tongue sweep attacks.
- Leg Attacks: The monster part of the boss in the second phase retains most of the leg attacks from Phase 1. However, it introduces several new reactive attacks when the player is at its side, so be cautious.
- Long Walk: This is the boss's most challenging attack to counter. It initiates as a standard leg attack, raising a leg and slamming it down. However, it continues this pattern by alternating legs and moving toward the player with each slam. This onslaught persists for an extended duration before concluding with a sweeping leg attack. Due to its extensive range, it's best to parry rather than evade.
- Ground Slam (Fast): In Phase 2, the boss employs the Grand Slam attack from Phase 1 without any wind-up, making it challenging to anticipate. However, the boss clenches his fists slightly just before leaping at the player, providing a signal to be alert.
- Forward Slam (Fury Attack): The monster form of the boss rises onto its legs, tilts forward, and attempts to crush the player. This attack is relatively easy to evade since the boss doesn't land on top of the player but in front of them.
Fallen Archbishop Andreas Phase 3:
Once you've reduced the boss's HP to approximately half during the second phase, he unlocks two new moves that demand vigilance. While these moves are not the most devastating, they inflict substantial damage and can result in immediate defeat if not handled carefully:
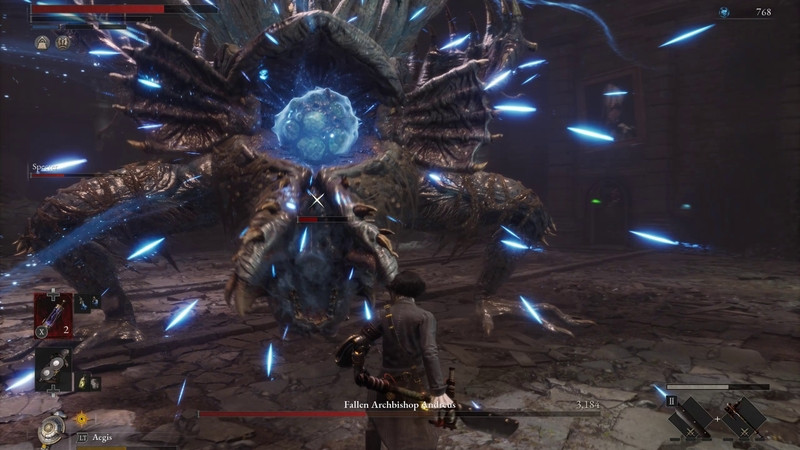
- Ergo Beam: The boss rises and exposes a large blue orb within his chest. He begins gathering energy and releases it directly toward you, generating a shockwave of Ergo on the ground. This attack cannot be blocked or parried and must be evaded. You can either move toward the boss and seek cover beneath his body or escape to the opposite side of the arena to evade the attack. If you choose to position yourself under the boss to take advantage of the cooldown period, ensure you dodge away from him immediately after the attack concludes, as he will slam down afterward.
- Screaming Rush: The boss emits a scream and prepares to charge toward you. During this rush, he slams into you twice and may execute 2 to 3 successive rushes. Following the rushes, he initiates a frenzy sweep attack, which you must either evade or parry to survive.
In summary, the initial phase of this boss presents a challenge that can be overcome with persistence, but it's the second phase that demands intense focus and concentration. The key focus here is to remain aware of which target is currently facing you. If you're facing a massive monster, it will likely employ familiar attack patterns from the previous phase. However, if you're confronted by the bishop's tail, expect new abilities, including ones that induce Decay buildup.
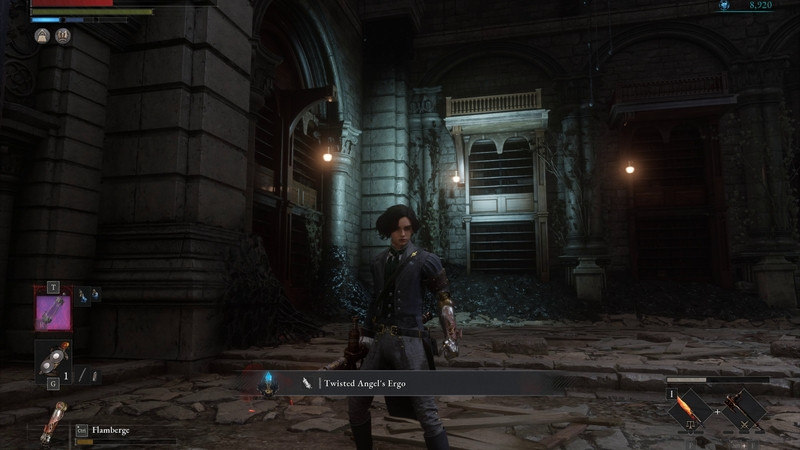
Once you've successfully defeated the Fallen Archbishop Andreas, you'll obtain his Ergo, known as the Twisted Angel's Ergo. This Ergo can be exchanged with Alidoro for either the Trident of the Covenant weapon or the Nameless One's Amulet. This accomplishment allows you to progress to the next area, the Path of Pain, signifying the defeat of Fallen Archbishop Andreas.

 No ads, our video library,
