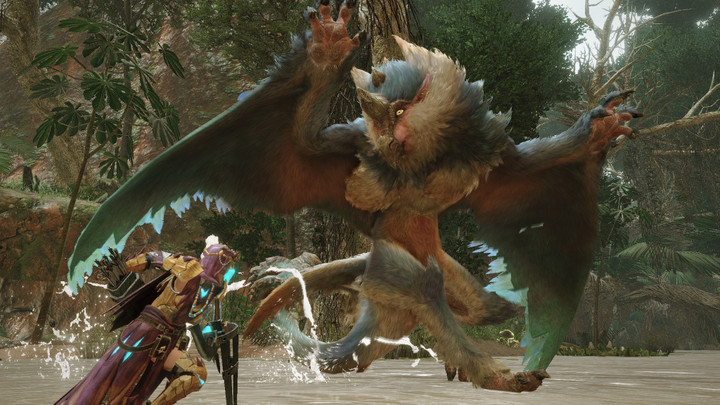
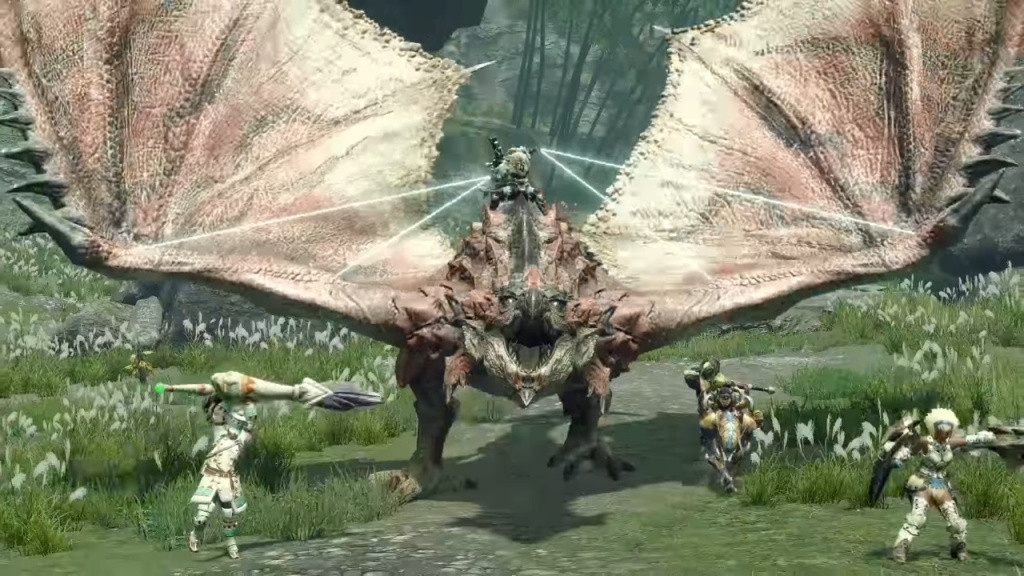
Monster Hunter Rise is all about the loop of taking down monsters for better materials, but you don’t have to kill them to reap the rewards.
To save time hacking down a monster’s HP, it’s often best to try and capture monsters - which can especially be a life-saver when you’re going up against a particularly tricky foe.
Monster Hunter Rise however isn’t the best at explaining the capture mechanics (although there’s a tutorial in the Training Quests), but there's some hurdles you have to jump through to prepare for a capture. Here's what you need to know.
How to craft Pitfall Traps and Shock Traps in Monster Hunter Rise
The two main traps in Monster Hunter Rise are Pitfall Traps and Shock Traps. These have varying strengths and weaknesses, while certain monsters like Zinogre who have electrical abilities, are immune to Shock Traps.
You can sometimes buy traps from Rondine the Trader through Trade Quests, but it’s a safer bet to simply craft them yourself using materials gathered in the world. You can craft items by pressing the plus button to open the menu and hit ‘crafting list’. Scroll across to Traps/Offence, move to the next page, and you should find the listings for Pitfall and Shock Traps.
Time to get crafting! (Picture: Capcom)
Pitfall Traps
To craft a Pitfall Trap, you’ll need the below materials.
- Net x 1
- Trap Tool x1
You can craft a Net with 1x Ivy and 1x Spider Web, which can be commonly found around most areas in the game. Trap Tools can be purchased for 100z from Merchants in the Monster Hunter Rise village, aka Kagero and others.
Shock Traps
To craft a Shock Trap, you’ll need the below materials.
- Thunderbug x 1
- Trap Tool x 1
You can find Thunderbugs throughout the Shrine Ruins and Frost Island areas, where they’re commonly resting on trees and rocks.
It’s important to note you can only carry one of these traps at a time, although you can return to your tent and craft more if a monster breaks free.
How to capture monsters in Monster Hunter Rise
Capturing monsters will give you a better chance of getting rarer rewards, although it is random (Picture: Capcom)
Along with the above traps, you’ll want to buy two Tranq Bombs for the hunt, which can be purchased from Kagero or the Guild Hub merchant.
With all these items, you can now go in for the capture. You’ll first need to find and damage the monster until they’re severely weakened. While playing solo, you can tell when this moment happens as your Palico will pop up a message on screen which states “Our purrey is weak. Ripe for the capture!” At this moment, ready your trap.
- Read more: Monster Hunter Rise: Where to find Warm Pelt
In multiplayer, you won’t have your Palico so you’ll have to rely on your own wits. As you gradually damage the monster, their movements will change and they’ll become more sluggish or erratic. Wait until you notice the monster is limping and fleeing the battle, at which point you should ready your trap.
From here, you’ll want to plant your trap within close distance of the monster, but not so close they’ll start attacking you before you can plant it. Once you place the trap, you’ll want to get the monster’s attention so it heads towards the trap’s location, activating it once it steps on it.
If the trap works, the monster will be stuck for a short period. At this moment, equip your Tranq Bombs and throw them at the monster’s head. This should put the monster to sleep and end the hunt if successful. The monster might spring back up again, at which point you can try damaging it more and use the second trap to repeat the process. If you run out of materials, you can restock with items in your tent, so don’t be afraid to temporarily back away from the fight.
Monster Hunter Rise is available on Nintendo Switch.

 No ads, our video library,


