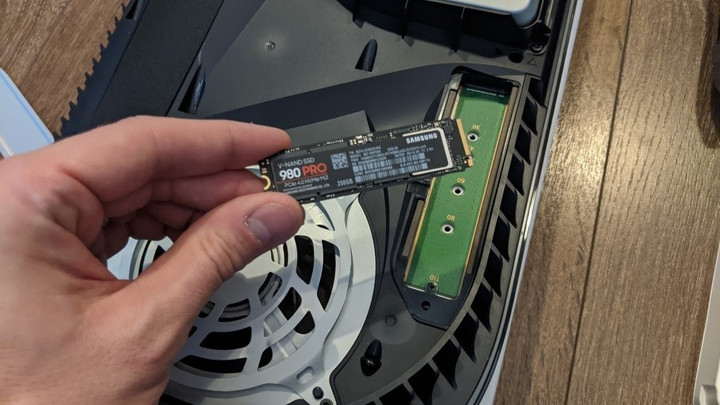
Sony has finally released a long-awaited update for the PlayStation 5, now available to players who are part of its beta software program, an update that allows users to use an additional SSD drive to expand the console's storage.
However, adding an additional SSD drive to a PS5 is not as easy as on Xbox consoles, as it requires a lengthy process that involves opening the console, using certain tools, and following instructions to prepare the drive.
The guide below hopes to make this process easier, showing you how to successfully install an SSD drive to your PS5, as well as choose the best options to buy and improve the performance of your console.
How to install an SSD in your PS5
Before you begin, we recommend doing this in a well-lit room on a table with space, as well as having a screwdriver on hand.
We also suggest wearing an antistatic wrist strap or touching a grounded metal object to eliminate static electricity and avoid damaging the console or SSD. Finally, remember this function is only available for those who have the most recent beta update at the moment.
- Press and hold the Power button for three seconds to turn off your PS5, then remove all cables and devices from the console. Please wait for the PS5 to cool down.
- Place the console on a soft cloth on a flat surface and remove the base.
- Position the console so that the screw hole in the base is facing you, the PS logo is facing down, and the Power button is on its left side.
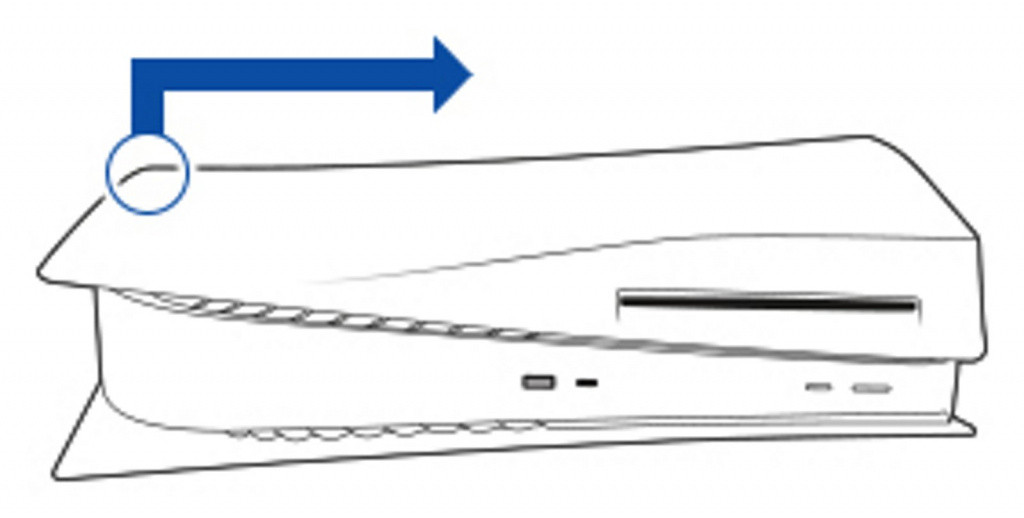
- Remove the cover from the PS5. The cover will lift up. There will be a long rectangular cover over the expansion slot, secured with a screw at the top.
- Remove the expansion slot cover screw (A), and then remove the cover.
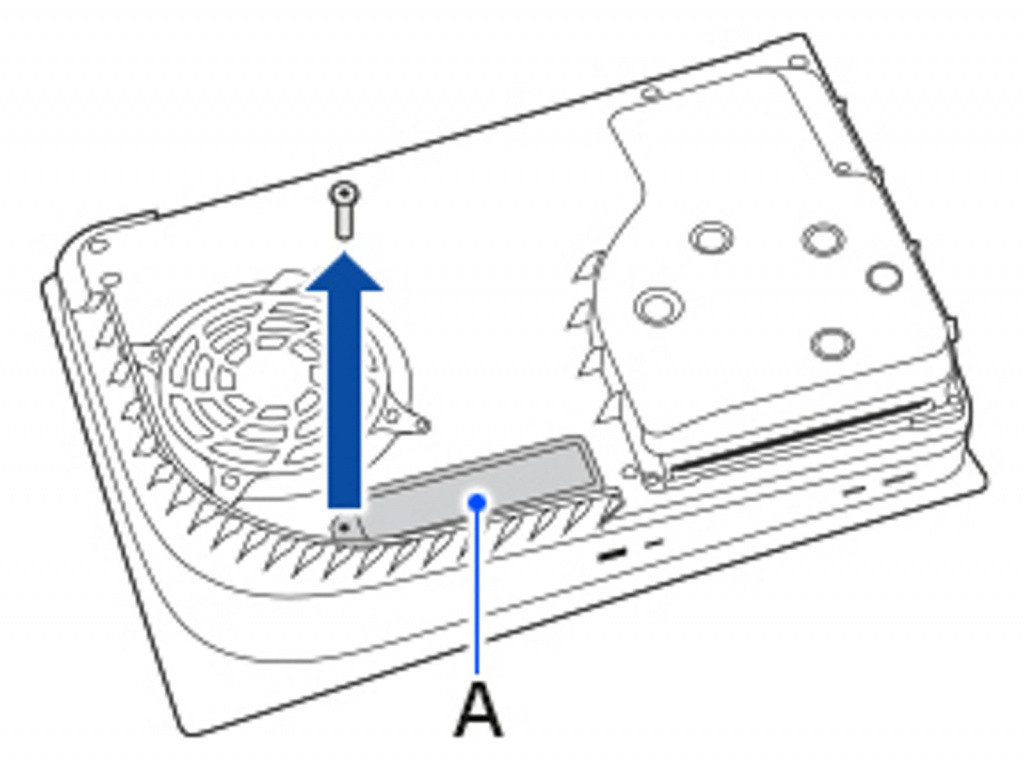
- Remove the screw from the expansion slot cover, next to the fan.
- Remove the screw (B) and the spacer (C), and then adjust the spacer to the size of your SSD.
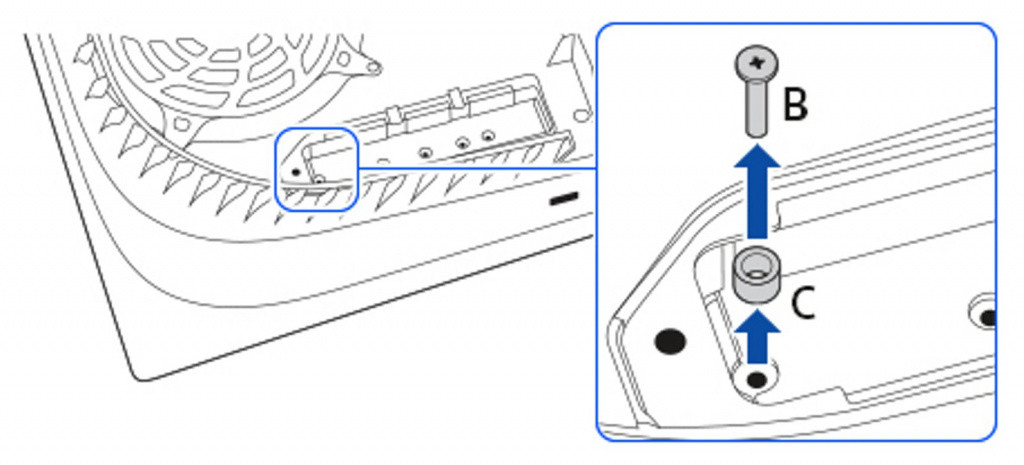
- Hold the edge of your SSD, align it with the notch on the expansion connector, and then, starting diagonally up, insert it firmly all the way.
- Note: If you proceed to the next step while your SSD is inserted incorrectly or not fully inserted firmly, it may cause damage to the terminal and your PS5.
- Tilt your SSD down and fix it with screws.
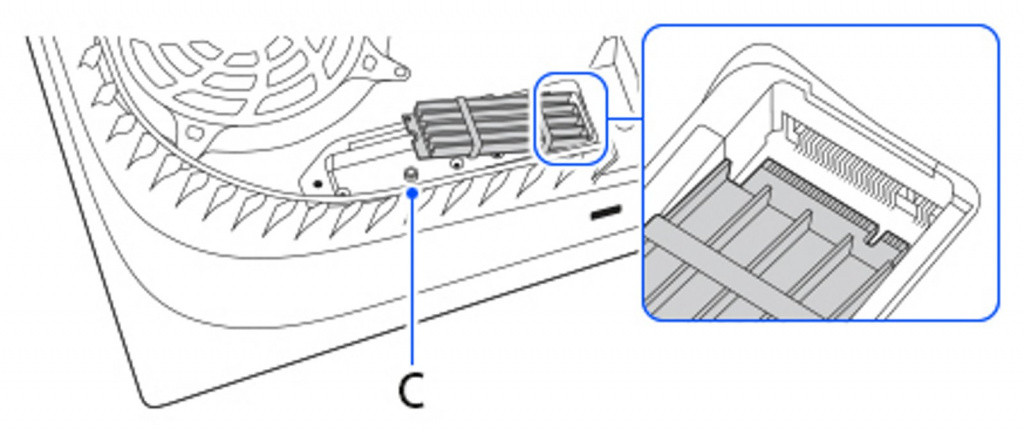
- Attach the expansion slot cover and tighten the screw.
- Attach the console cover.
- Connect the power cord, cables and base, and then turn on.
- When the PS5 is turned on, the format guide will appear.
- Follow the onscreen instructions and format your SSD.
Once the SSD is ready, you can download games and applications from the PlayStation Store directly to it. To do this you will first have to configure the device and change the preferred installation location from Settings > Storage.
Likewise, it is possible to move content already installed in the internal storage of the console to the additional SSD. To do this, go to the main page of your games and select Game Library. Highlight the data you want to move, press the Options button, and then select Move games and apps.
Best SSDs for your PS5 and compatibility requirements
Now comes the hard part, choosing the best SSD for your PS5. Interestingly, Sony confirmed that only M.2-type SSDs will be compatible with its console, allowing users to add from 250GB to 4TB of storage to the system.
However, these must meet certain specifications, such as a reading speed of 5500MB/s or higher, in addition to having some type of heat sink, since as many know, the PS5 tends to suffer from overheating, which may affect the status of the SSD.
Taking this into account, below we will show you some of the best options on the market to equip your PS5 and not suffer from compatibility problems when using it on the console.
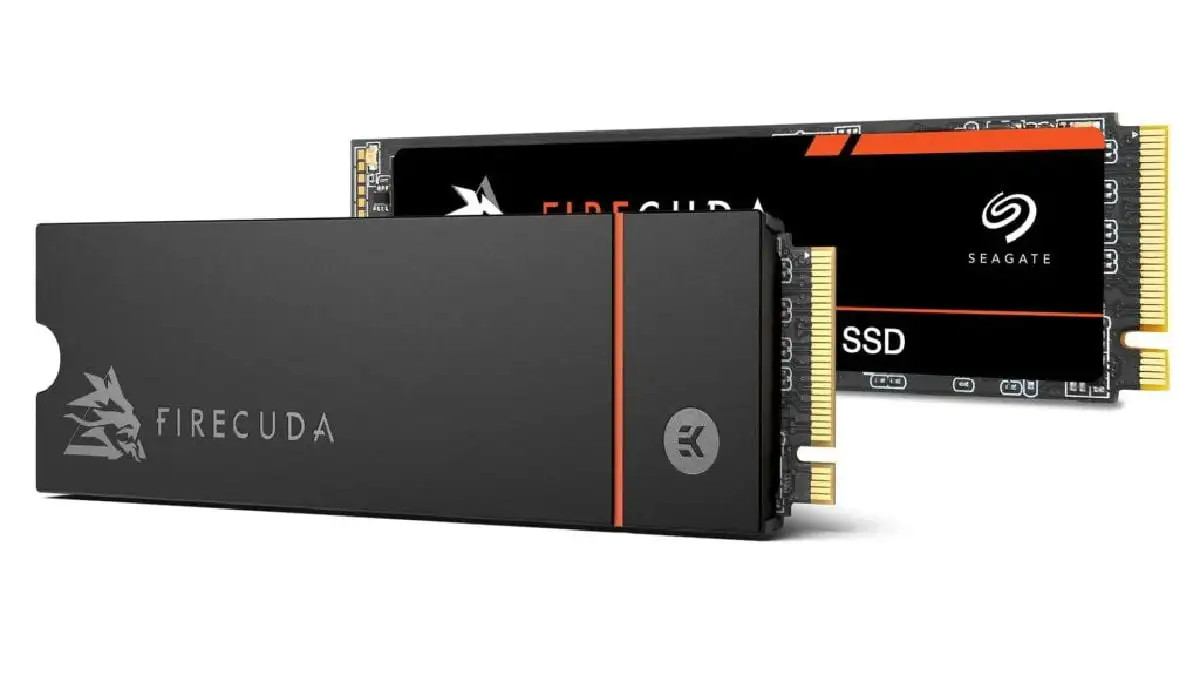
Seagate FireCuda 530
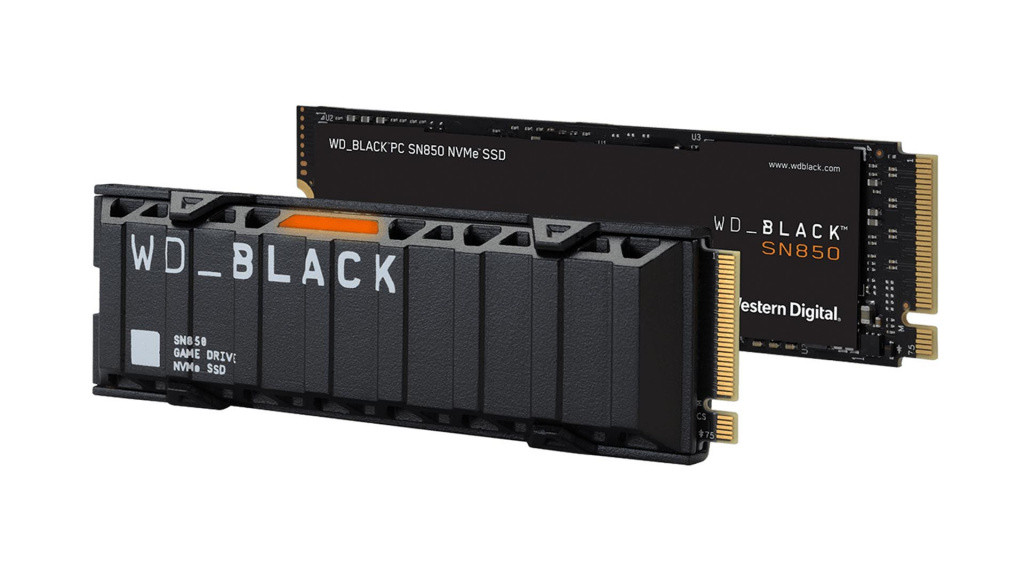
Western Digital WD_Black SN850
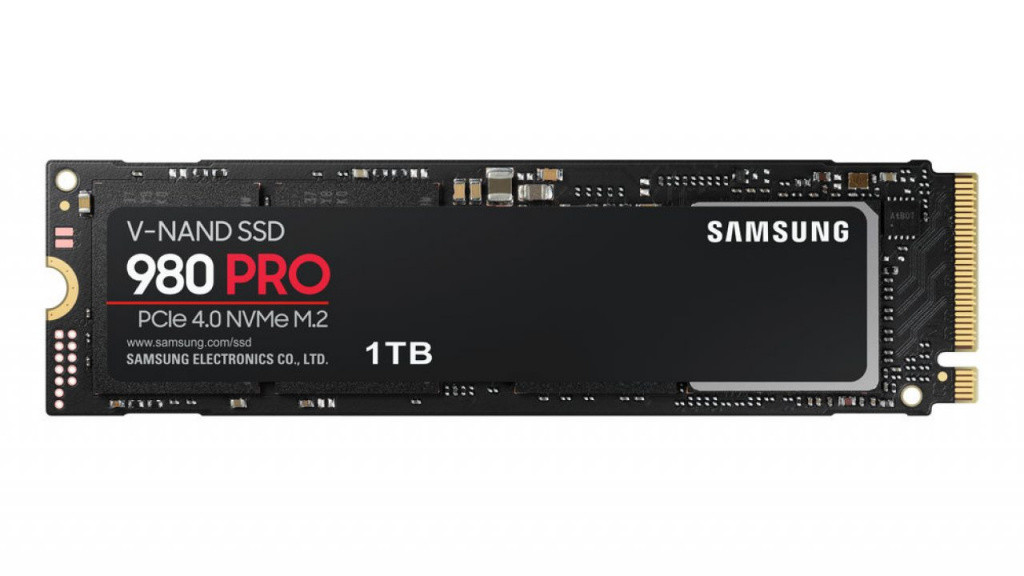
Samsung 980 PRO
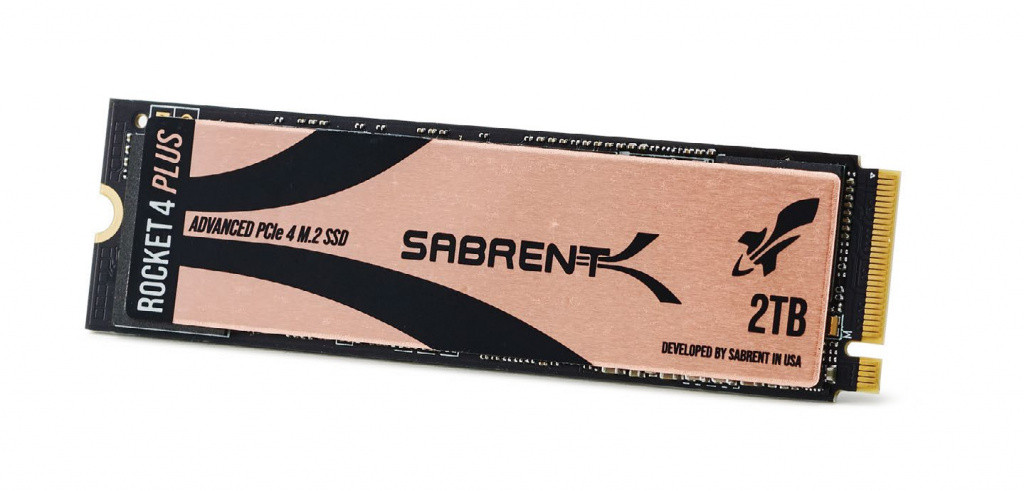
Sabrent Rocket 4 Plus
Aside from these models, you can also choose any SSD which fulfils the requirements previously described, with a 2230, 2242, 2260, 2280, and 22110 form factor or size.
This update will be available for all PlayStation users later this year.

 No ads, our video library,
