If you've been scrolling through the FYP recently, you might have noticed some users posting photo slideshows on TikTok. This new Photo Swipe feature has started to gain massive traction as TikTokers rush to experiment with stitching their pictures together.
Notably, the TikTok Photo Swipe is created using a new beta-test feature called 'Switch to Photo Mode' in the video editing menu. The end product is an Instagram-like photo carousel. This guide will detail how to make the photo slideshow by stitching multiple images together.
How to do the Photo Swipe thing on TikTok
Jumping on the Photo Swipe TikTok Trend is pretty straightforward. All you need to do before starting is to ensure you already have the pictures you want to include in the photo slideshow captured in your device's gallery.

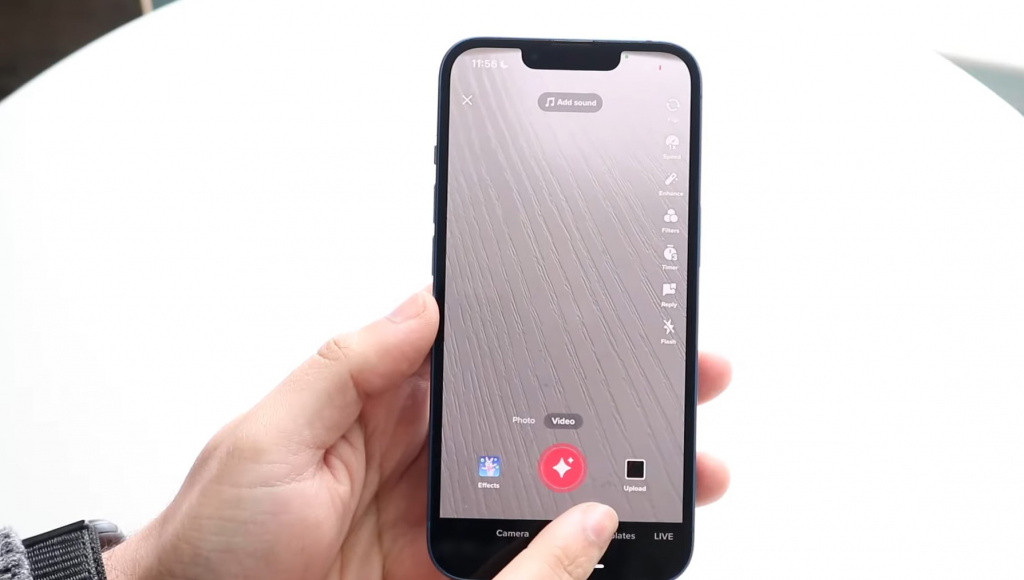
To get started, open the TikTok app and tap on the create (+) button, as you typically do when uploading a new video. Then, in the bottom right corner of the screen, tap the "Upload" icon.
- Best TikTok Songs 2022 - Trending Music Hits Right Now
- TikTok Human Feelings Trend - What Is It And How To Play
- TikTok star TheSkiMaskGirl accidental face reveal thanks to excited dog
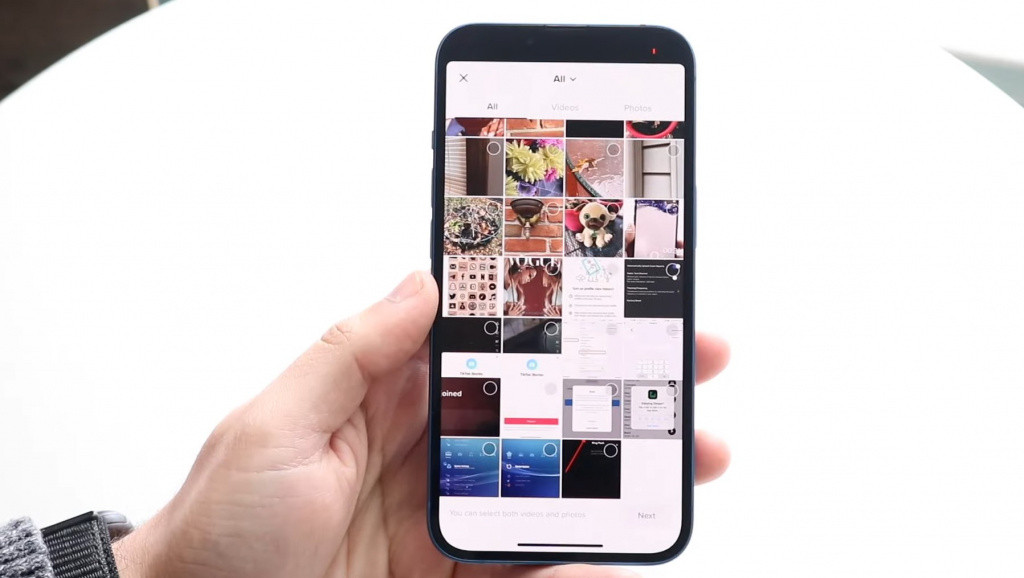
Next, you will see a selection menu with all the videos and photos on your device. If you haven't (for some or other reason) given TikTok access to your phone's gallery, you might run into a problem here.

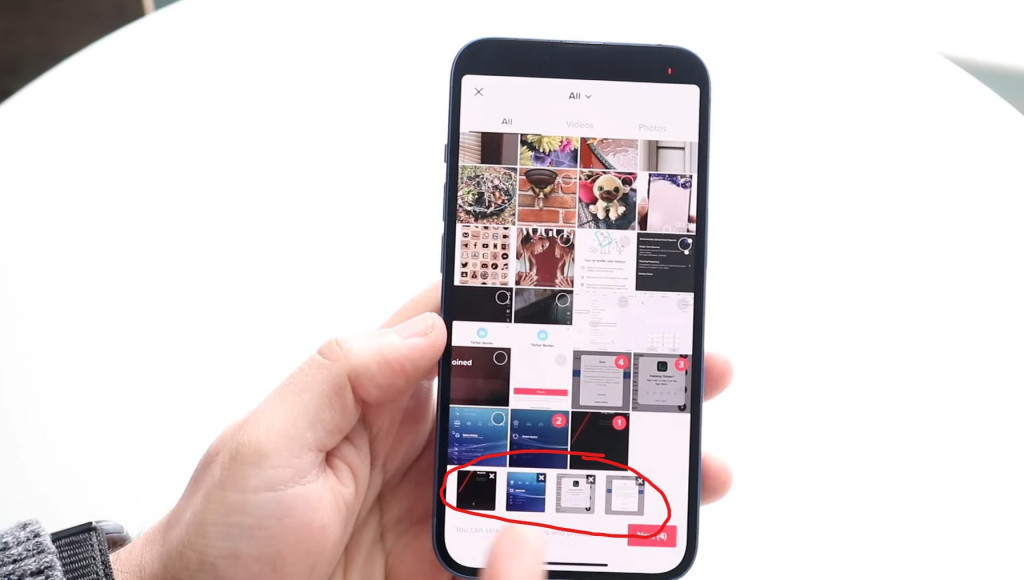
Otherwise, you can proceed to navigate to the "Photos" tab and select the photos you want to use in your photo slideshow. As you choose the images, you'll see them appear as tiny blocks beneath the selection screen.
Be aware that the order of these images will be the order that the photos show in the final slideshow. You can rearrange the order of the photos by tapping and dragging them around. Similarly, you can remove pictures by clicking the tiny "X" icon in the corner of the respective image.

Click "Next" and then select "Switch to Photo Mode." From here, you can also add a voiceover, music, filters, or effects to your photo slideshow. Once you're happy with the final product after making the necessary edits, tap the "Next" button to post the photo slideshow to your TikTok Story.
Tip: Use photos with the same resolution to create a smoother slideshow experience for your viewers. We've included an example of the end product below.
@notyouraverageweeeb Reply to @awayisnotreal supposed to look like this #photoswipe #photoswipetrend #itachi ♬ original sound - Tremani Z
If you don't see the Switch to Photo Mode option on your TikTok app, you might need to update your app via the Google Play or App Store pages. If you still can't see the option, then you likely aren't part of the beta-testing group. But don't worry; the feature should be released to everyone soon.
And that concludes our guide on putting multiple photos together in a video on TikTok. After creating your photo slideshow, don't forget to share the result with the rest of the TikTok community.
For more epic content, check out our section dedicated to Entertainment news, updates, streamer antics, drama, and more.
Featured image courtesy of Unsplash.

 No ads, our video library,

