Table of Contents
Dead by Daylight recently added a new customization feature called badges and banners, which allows players to display a badge icon and decorative banner on their profile. This is a great way to express yourself and show off your favorite killer, survivor, or chapters in Dead by Daylight, or your most memorable in-game events. Here's how to get profile badges and banners to display on your profile in Dead by Daylight.
How To Get Profile Badge & Banners In Dead by Daylight
To get new profile badges and banners, players can take several different approaches.
Sometimes, profile badges and banners are given out during events; for example, one was available as an event freebie during Bone Chill 2024. They can also be earned during events using in-game currency or by completing challenges in the event tome.
Developers have stated that in the future - and likely in the very next tome - players will be able to obtain badges and banners by completing tome challenges or levels. They will also be available in the Rift.
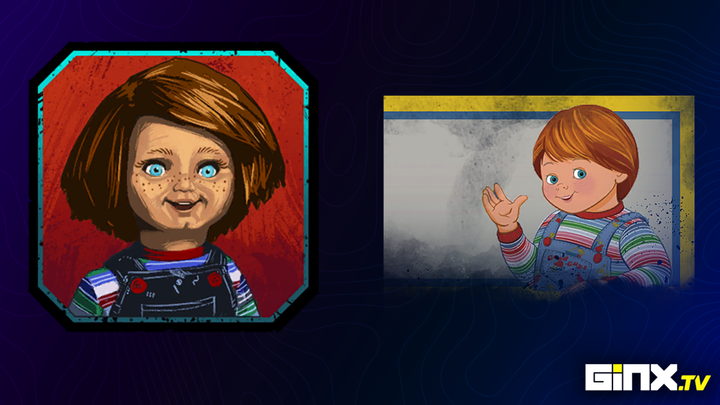
The last known way to get new profile badges and banners is to purchase certain cosmetics or characters. For example, purchasing a Legendary cosmetic for Chucky will net you the Chucky badge and banner, while you'll get the Alan Wake badge and banner for buying a Legendary Alan Wake cosmetic.

How To Use Profile Badge & Banners In Dead by Daylight
Dead by Daylight displays the profile badge and banner in the upper-right-hand corner of the Killer, Survivor, and Custom lobby screens. By clicking on your badge - which will be a blank brown box if you haven't chosen one - you'll be taken to a page that shows you your Devotion level. You can navigate to your profile badge and banners on the left side.
From the first tab, you can select any badge by clicking on it. Just be sure to click 'Save' in the bottom right when you're done. Then, choose the next tab and select your banner. You can mix-and-match, so there's no need to apply the Chucky banner if you've used the Chucky badge, for example.

 No ads, our video library,

