In Assassin's Creed Valhalla, we will be visiting many authentic historical locations in 9th century England and Norway, but some places go beyond that.
With the last couple of games in the series, particularly Origins and Odyssey, the franchise started moving away from historical realism and started incorporating myths and legends from the era it is depicting.
And that new direction continues with the latest game, Assassin's Creed Valhalla.
WARNING: Minor spoilers ahead
Once you built the Seer's Hut for Valka in your settlement, you will unlock the Asgard Saga storyline.
If you are not familiar with Norse mythology, Asgard is a fortified home to the Aesir tribe of gods located in the sky.
In Assassin's Creed Valhalla when you arrive in Asgard, you'll have a chance to talk with Thor, Loki, and some other familiar figures from Norse mythology.
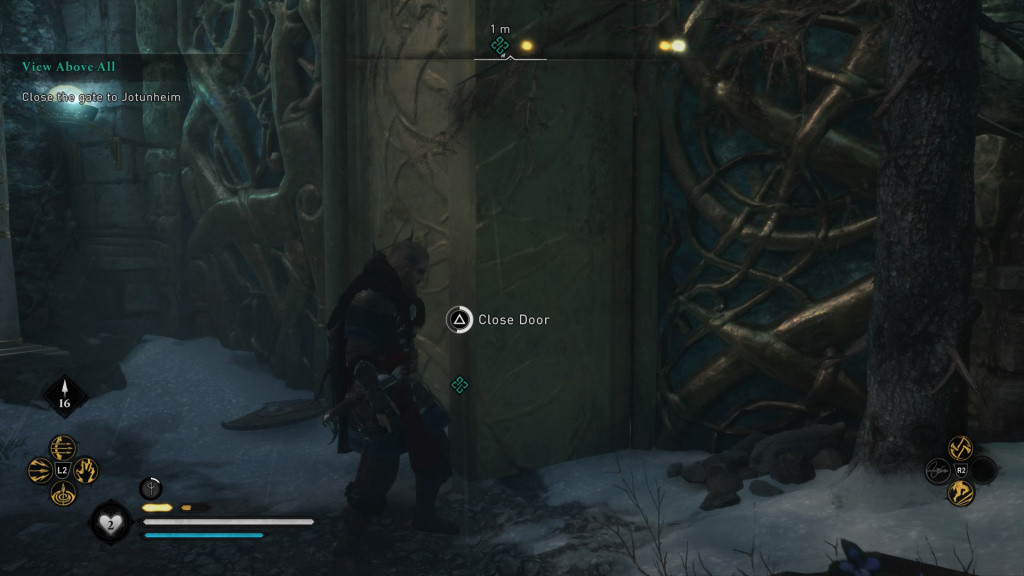
There will be some fighting and some talking, but once you close the gate to Jotunheim, the AC Valhalla Well-travelled quest starts.
And here, one particularly troublesome task awaits you, the one that is giving a headache to players, and that's the Well of Urdr puzzle.
And that's probably why are you here, so let's see how to solve this problem.
The gate to Jotunheim (Picture: UbiSoft)
How to unseal the Well of Urdr in Assassin's Creed Valhalla
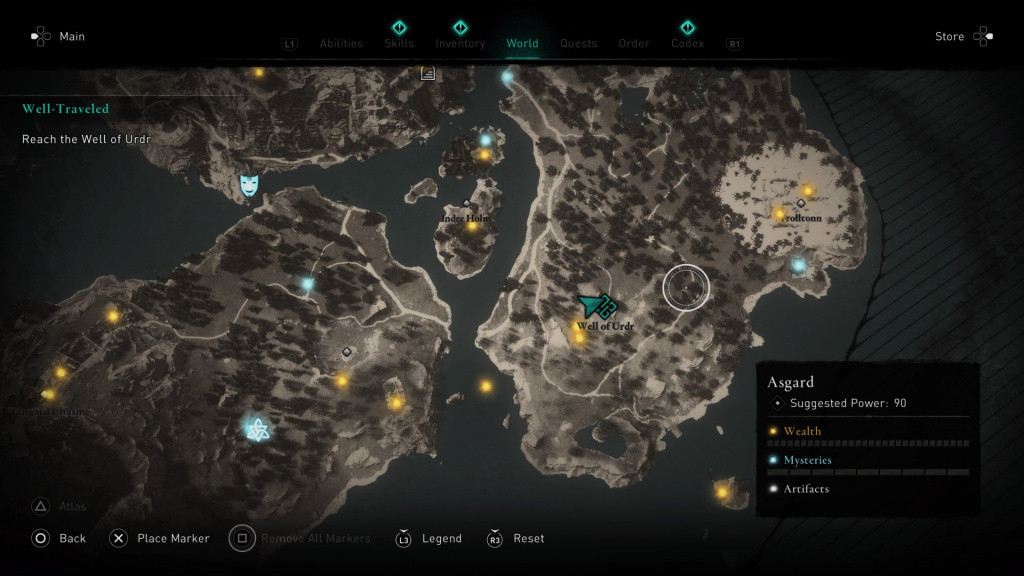
- First things first, you will need to reach the Well of Urdr. That should be relatively easy because the location is marked on the map and you just need to follow the path to it.
The location is marked on the map (Picture: UbiSoft)
- Once you are at the location marked on your map, you should enter the cave located there.
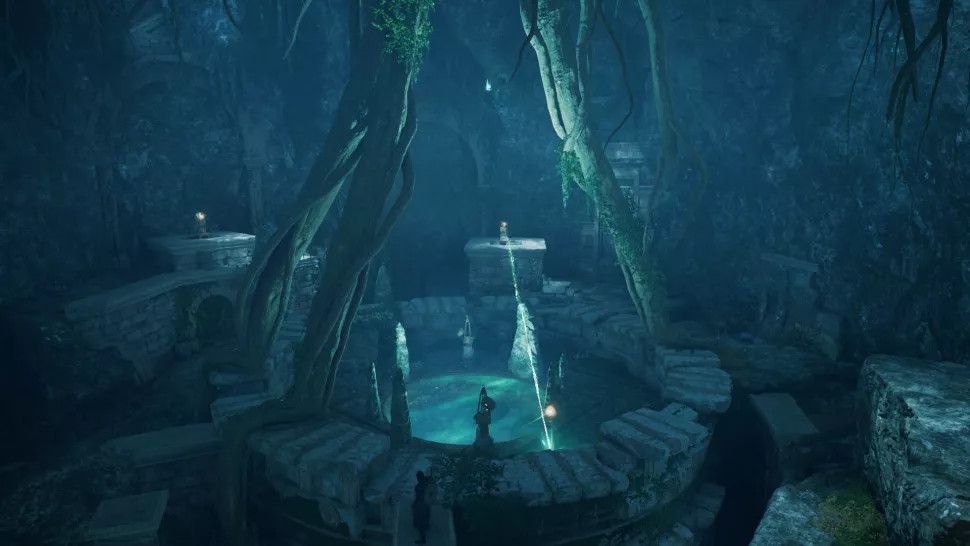
- When inside, just follow the path towards the location of the well. The path is quite linear, so you should find the well's location relatively easy.
The Well of Urdr (Picture: UbiSoft)
- When you reach the well, Tyr will meet you and a small cutscene will play out.
- After the cutscene ends, you will be presented with the Well of Urd puzzle.
- The way further is blocked by the gates(nodes) that respond to beams of light, and you'll need to position the beams correctly in order to open them.
- At the start, there's only one beam, but you need a couple of them, so you will need to split the beam.
- Climb to the pedestal with the first beam, and when you look back from where you came, you'll notice a prism on the ceiling.
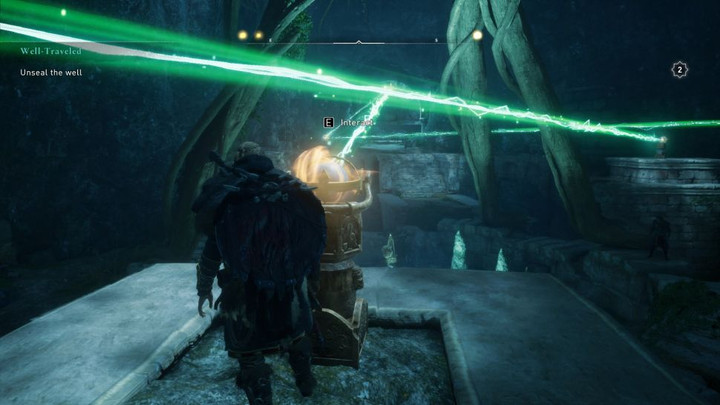
Point the beam towards the yellow glowing prism (Picture: UbiSoft)
- The prism will split the beam into several other directions.
- Near the well, there's a small movable pillar (with a glowing orb at the top).
- You should position it so that there are no obstacles between it and one of the targets that unlock the gates.
Position the pillar so that it is aligned with the node that unlocks the gate (Picture: UbiSoft)
- When the pillar is in the right position, go to the second pedestal (left from where you came from), and interact with it.
- Aim the beam so that it hit the pillar you've previously set.
- If the beam is not hitting the target, you should do small adjustments with the pillar and move it in order to find the right position.
- When everything connects, Eivor will say: "the light has found its mark, the stone is lit." That's the sign that you are doing things properly and that the puzzle is about to be solved.
- From there, the puzzle becomes easy, simply just jump to the third the pedestal and direct the light stream towards the forth one, and from the forth one hit the second node (target) and that's it!
- If everything is done correctly, the cutscene will start showing that the well is now open.
The well opens once you direct the beams correctly (Picture: UbiSoft)
Just jump down, collect the water and this puzzle is done! Congrats!
While you are here, you can read our Assassin’s Creed Valhalla review.

 No ads, our video library,


