Update: A new Tracing the Stars quest is now live, check out our guide for it right here.
Season of the Lost will play a key role in Destiny 2's long-term future, being the prelude to The Witch Queen expansion, and bringing some much-needed features such as crossplay, Bungie will surely look to kick start it with a bang.
As soon as players log in to Destiny 2, they'll start a story mission that will see Guardians reunite with Mara Sov in The Dreaming City, and after completing a few steps, they'll run into the Tracing the Stars 1 quest.
This is the first part in what promised to be a lengthy story quest, with possibly worthy rewards for those that decide to grind it out.
Let's get down to business and tell you everything you need to know about Tracing the Stars in Destiny 2.
Tracing the Stars 1 - How to obtain

To get access to this quest you need to follow certain steps. In short:
- Obtain the premium season pass
- Finish the introductory mission
- Finish the Wayfinder's Voyage 1 quest
Once you do this, you'll have access to Tracing the Stars 1.
Tracing the Stars 1 - How to complete
To start the quest, simply collect it from the Wayfinder's Compass, this season's artifact, and walk through the portal leading you to Mara Sov.
Where to find Atlas Skews
Mara will task you with finding five Atlas Skews scattered across The Dreaming City, find each location down below.
Drown Bay Alcove
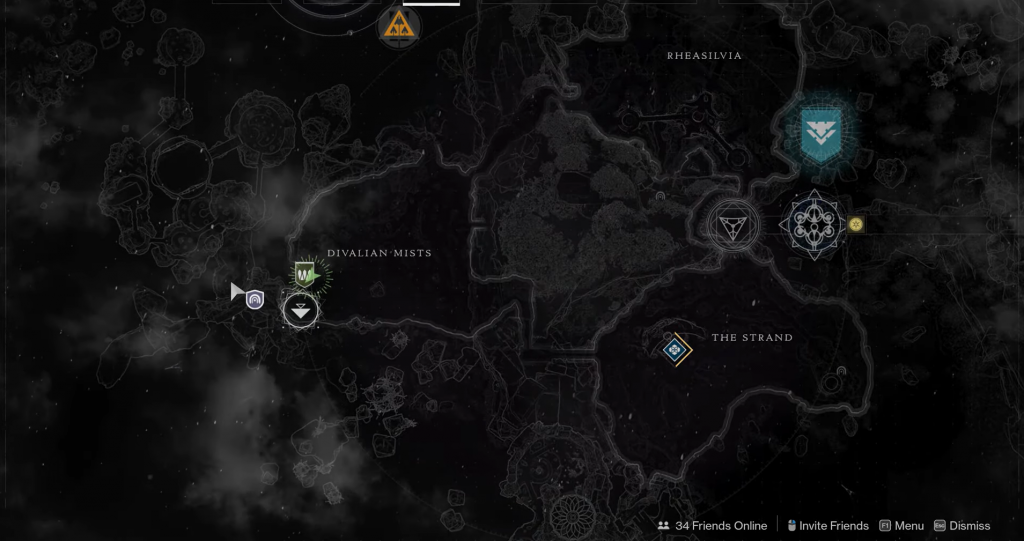
The first Atlas Skew can be found on your way to the Lost Sector that's right next to the Divalian Mists Landing Zone, simply make your way as if you were moving to the sector and you'll run into it.
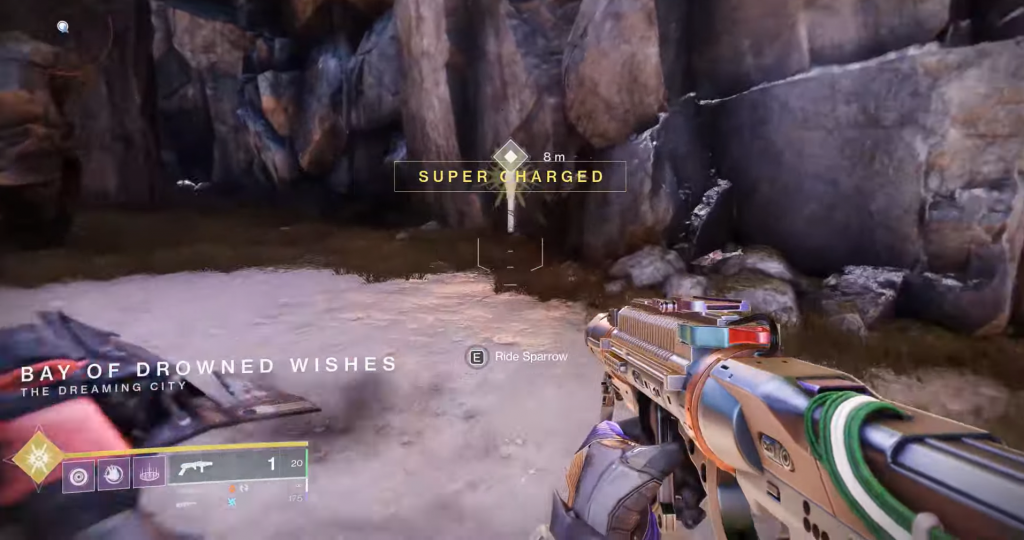
Divalian-Cimmerian Path
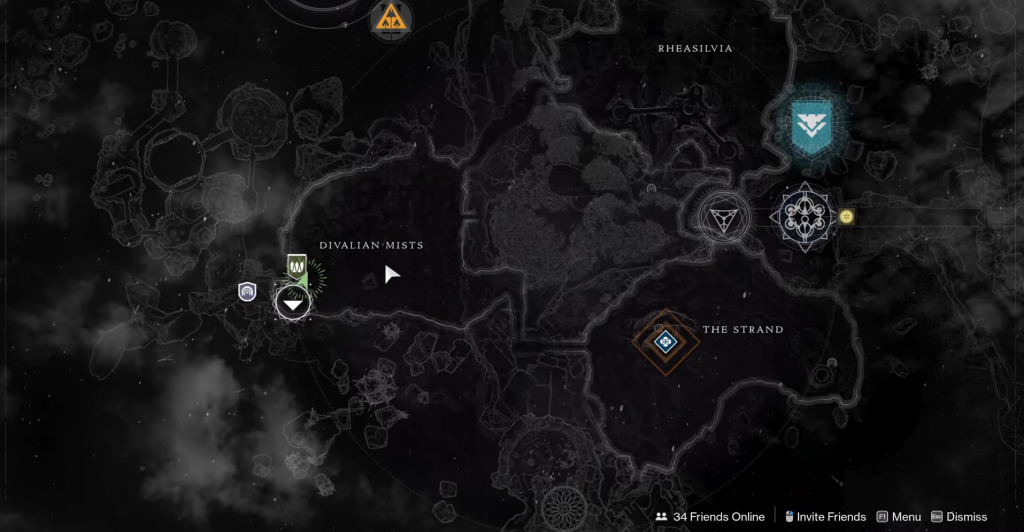
Back on Divalian Mists, simply head to the Central Cave, you'll spot the Skew almost immediately.
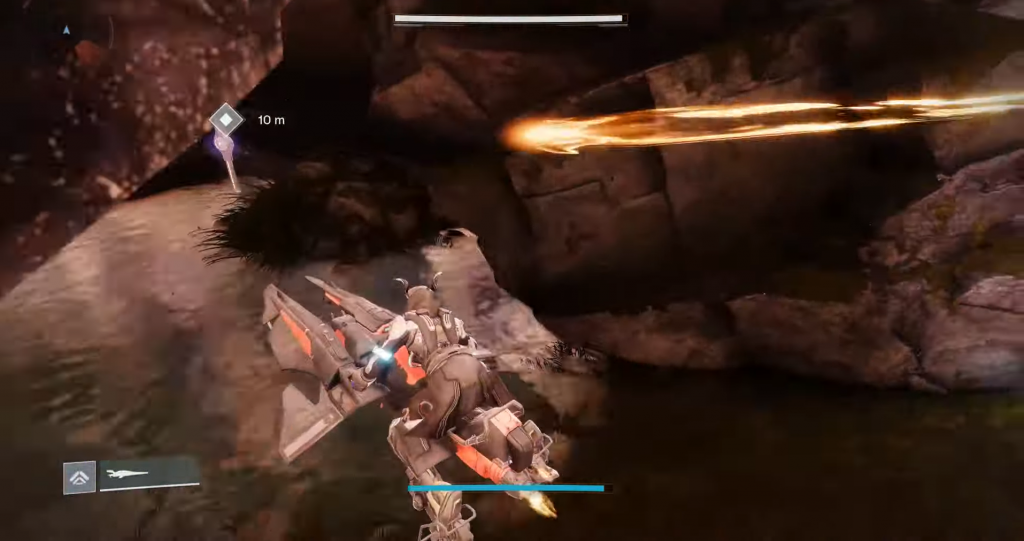
Divalian-Rheasilvia Path
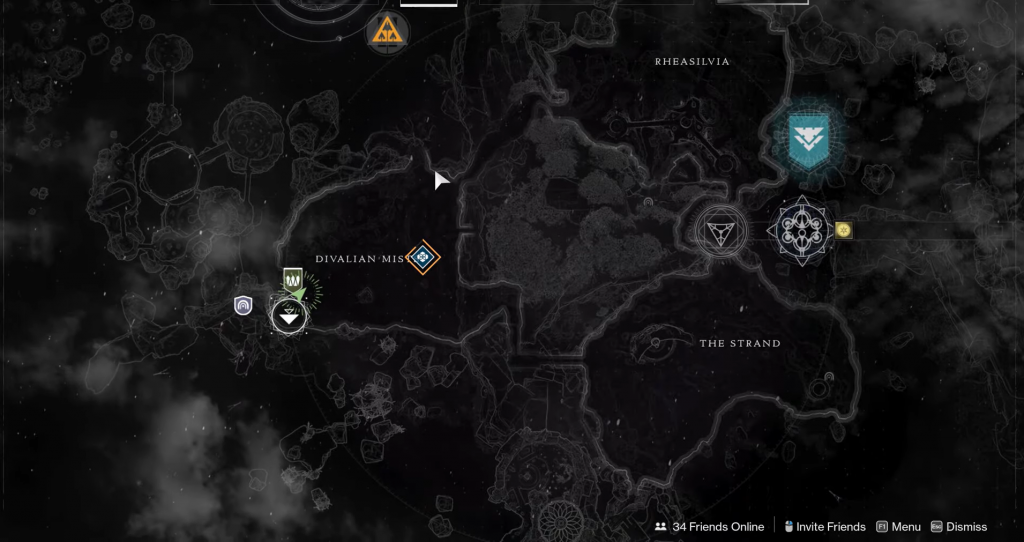
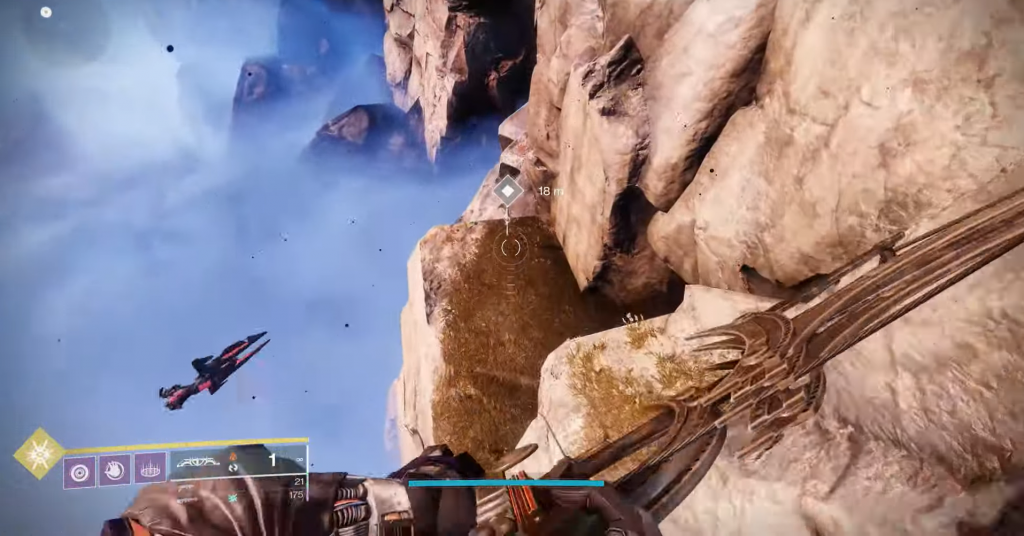
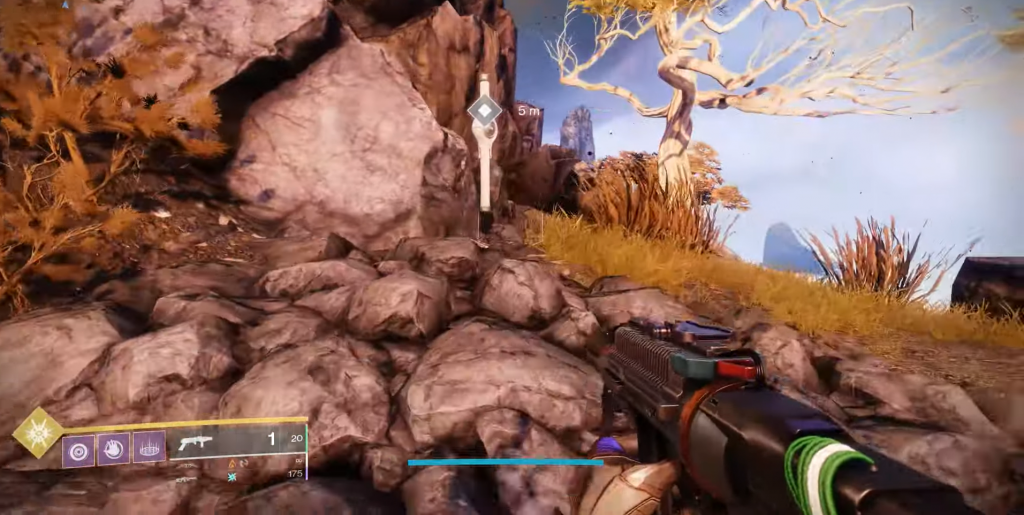
Staying within the same region, head to the left portion of the map, near the edge of the cliffside and jump down to a small piece of land, this is where you'll find the third Skew.
Spine Oracle Orrery
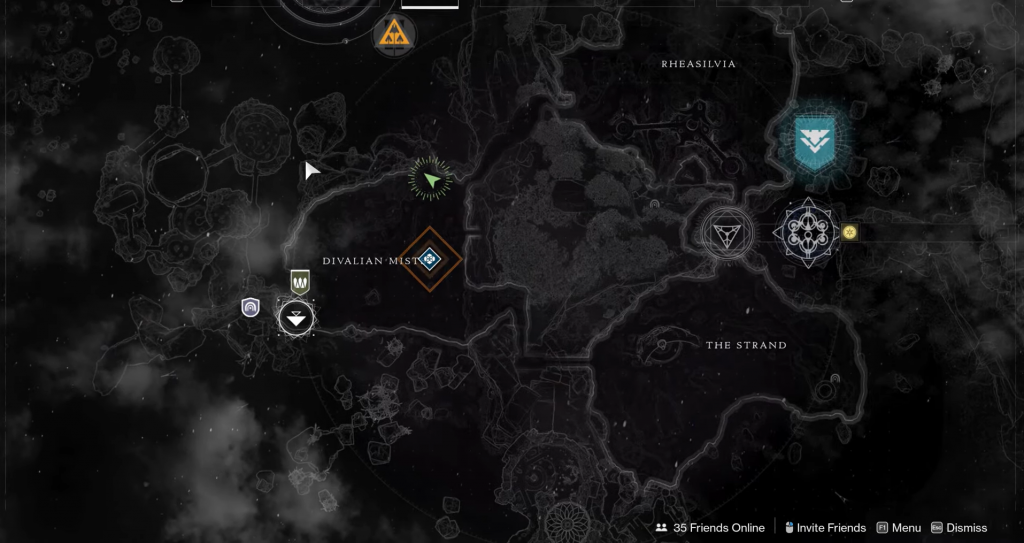
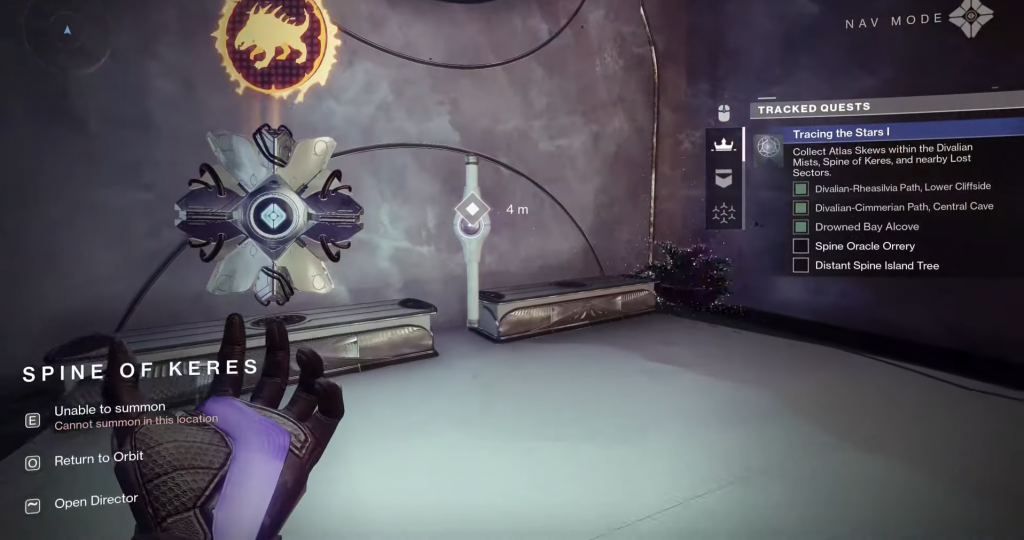
Make your way to Spine of Keres until you reach the Oracle. Climb the tower and you'll be able to spot the Skew.
Distant Spine Island Tree
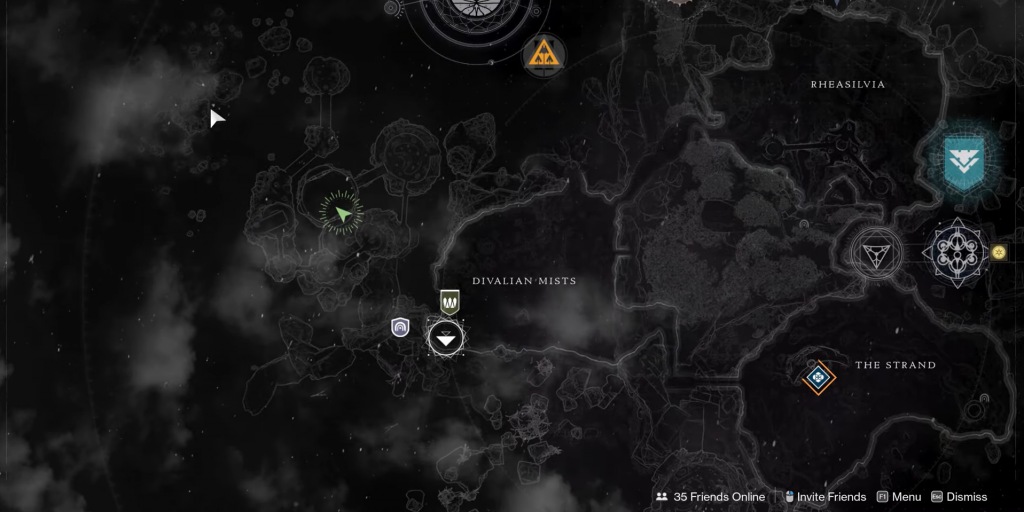
Simply head out from the Oracle and unto the formation where you initially drop when you first start the Forsaken DLC. You should find the final Skew there.
Once you find all five Atlas Skews, go to the HELM and start the A Hollow Coronation step, which is nothing more than a cutscene of sorts, head back to the Compass, and finally, earn your brand-new Stasis Hand Cannon.
Check out the guide by Esoterickk down below for visual aid.
For more on all things Destiny 2, check out our dedicated section filled with news, guides, and more.

 No ads, our video library,
