With the addition of Cryopods in ARK Survival Ascended, players now have a convenient and easy way to store their dinos. Cryofridges extend that capability by allowing you to store your Cryopods, charge them, and keep your dinos alive and well inside for as long as needed. However, Cryofridges can take up a lot of room, and when playing in PvP, they become a target.
Fortunately, there is a way to solve both of these issues with the use of a Cryofridge floor structure. This allows you to store numerous Cryofridges out of the way of your other structures and also out of the line of sight for enemy players. In this guide, we'll show you how to build a Cryofridge floor setup and briefly explain how it can be used in ARK Survival Ascended.
How To Build A Cryofridge Floor Storage Setup in ARK Survival Ascended
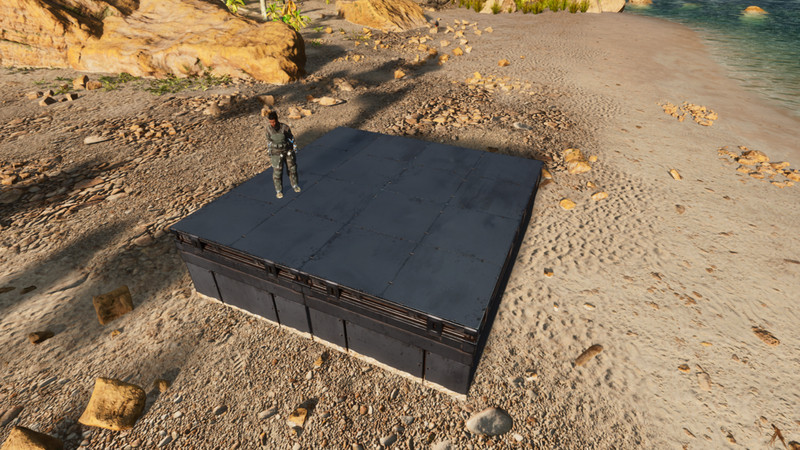
The first thing you need to do when setting up the Cryofridge floor storage setup for storing all your Cryopods is to create a 2x2 foundation on which your Cryofridges will sit. Once you have that set, we will use a little trickery to set up foundations slightly lower around the Cryofridges.

These will act as a lower floor surrounding them, and we want these to place walls on because when we do, they will be level with the top of the Cryofridges, giving us one level surface at the end to act as the final floor.
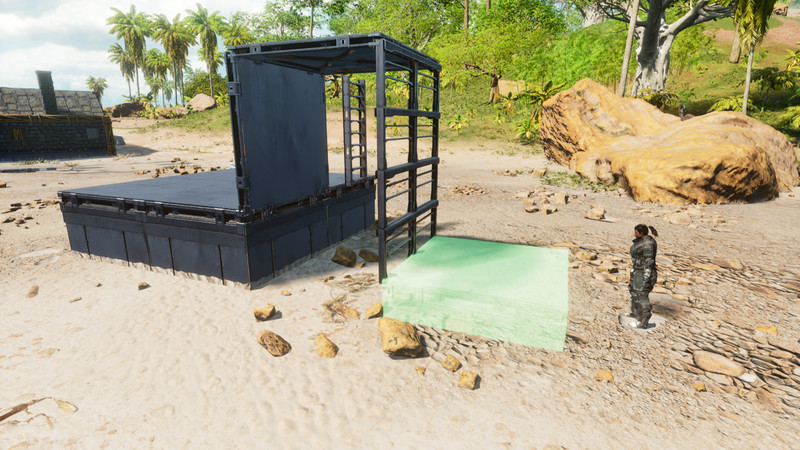
To do this, we first want to move away from the established 2x2 structure to avoid snapping any foundations to them. So we will build a wall on the edge of the 2x2 and place a ceiling facing away from it, giving us a foundation of space to work with.

Once done, we can now place four metal railings on the bottom of the ceiling which extends down toward the ground with some space underneath it, and it's this space that will account for the height difference between our lower foundation and the top of the elevated Cryofridges. Once this is done, we're going to place a ladder on the established 2x2 foundation, climb up it, and drop down without moving our mouse.
We do this to align ourselves perfectly with the foundations and give us a perfect place for the next step. So without moving your mouse, use the arrow keys to stand in front of your railings and place a foundation with the furthest part away from you in line with the bottom leg of the lowest railing, as shown in the image above.

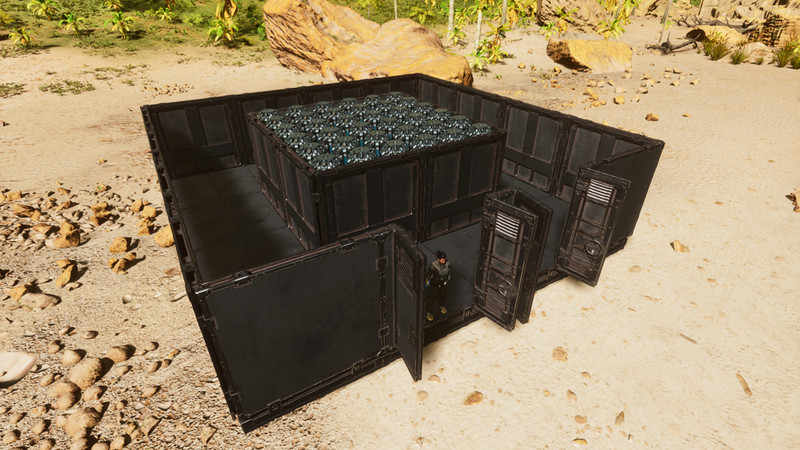
Once placed, you can remove all that scaffolding as the complex part is done, and you can now use this lower foundation as a snap point to place more foundations all around your 2x2 Cryopod foundation, and then go ahead and place your Cryopods in the middle. From there, you can place walls all around the lower foundations, and you'll see that the walls are now perfectly aligned with your walls, allowing you to place metal roofs on them.
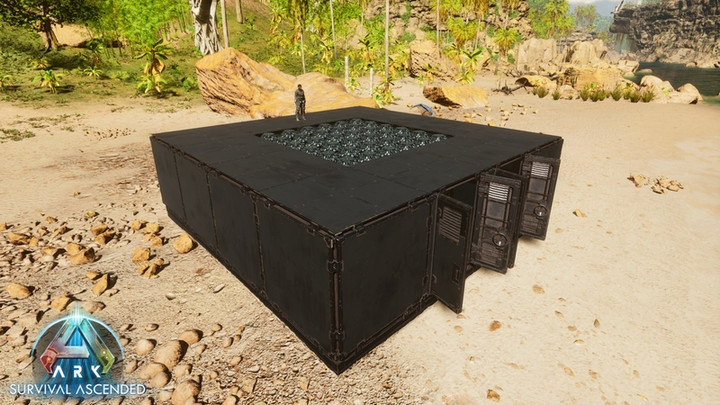
Doing so will give you a small corridor surrounding your Cryofridges where you can place a generator to power them and can even be used to hide some other structures if you want. But from there, you can pretty much decide for yourself how you want this structure to be incorporated into your base as a floor for one of your buildings.
So there you have it, a quick and comprehensive guide on how to create a Cryofridge floor storage structure for all your Cryopod storage needs in ARK Survival Ascended. All credit for this build goes to YouTuber Toastbloke, and to see more details on this build and the intricacies involved, be sure to check out their guide above.

 No ads, our video library,

