Destiny 2 is a massive shared world experience that continues to grow significantly with time. From new expansion releases to seasonal content, there's plenty to do in Bungie's highly successful looter-shooter.
With so many quests to complete and loot to pursue, Destiny 2 could be a little overwhelming at first for newcomers. Bungie has overhauled the New Light aka tutorial section over the years to make things more accessible though it's still far from a user-friendly experience.
The first New Light quest in Destiny 2 is called 'A Guardian Rises.' It has 21 steps in total and could take well over an hour to finish. A Guardian Rises serves as the tutorial of the game. If you're stuck in this introductory section of the game, you can find a full walkthrough of the A Guardian Rises quest in Destiny 2 below.
How To Start A Guardian Rises Quest In Destiny 2
Follow the steps below to complete the 'A Guardian Rises' quest:
Step 1 - Make your way through Cosmodrome and find Shaw Han
As mentioned previously, this mission has 21 steps in total. It begins with a brief cutscene showcasing how humans first came across The Traveller, the Light, and the protector of The Last City on Earth.
After the cutscene, you will find yourself in Cosmodrome, Old Russia. Your Ghost will pinpoint where to go next. Keep following it, and you will soon find yourself a weapon.
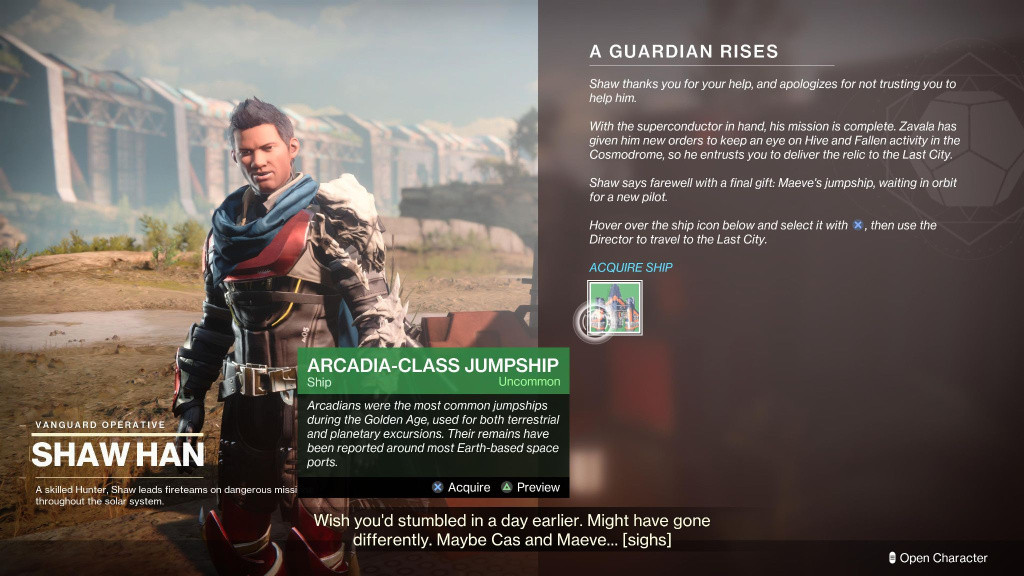
Keep making your way through the old derelicts of Cosmodrome, fighting waves of enemies along the way, and you will come across the first friendly face - Shaw Han.
Step 2 - Complete the quest Schism
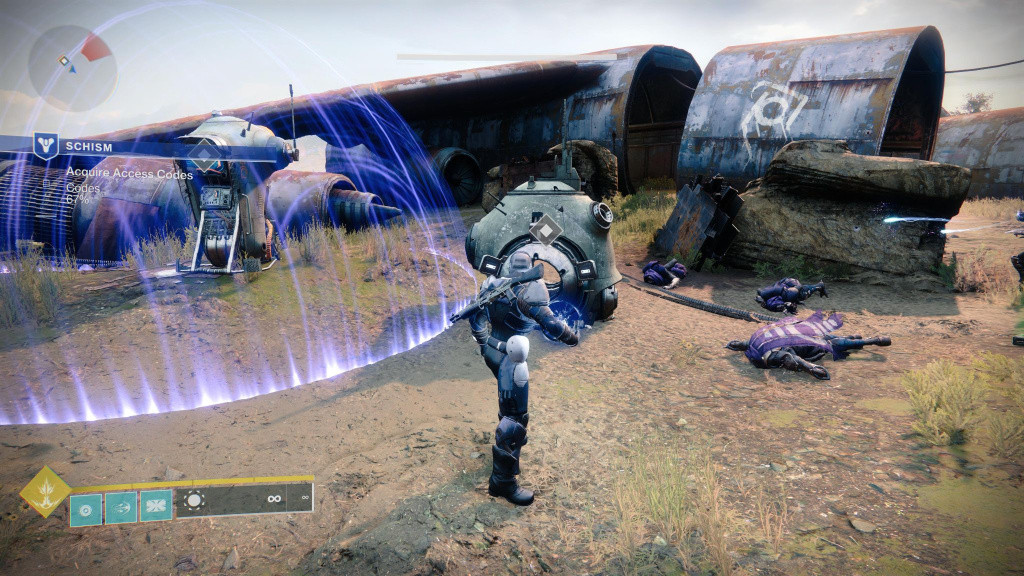
Schism is the first of the few sub-quests within the quest A Guardian Rises. Shaw will send you to clear out a bunch of Fallen (one of the game's enemy races) camps and investigate an antenna in the area.
This is the basic structure of most Destiny 2 missions: Go to a place, investigate an object, defend your ghost until it scans the object, and leave.
Scanning the object will give you the coordinates of another guardian - Maeve - who you will soon find dead at the hands of a wizard named Navota. Head back to the camp and rendezvous with Shaw Han.
Step 3 - Complete The Divide Lost Sector and Bounties
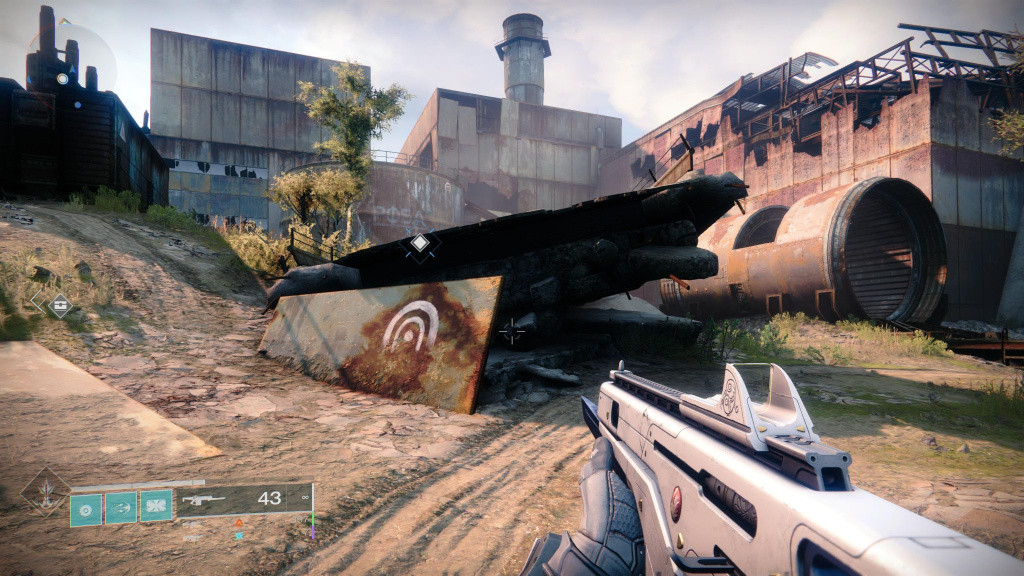
Shaw will task you with recovering data scraps, which is just a way to introduce you to one of the game's PvE activities - Lost Sectors. These are small confined areas full of red bar enemies and a final boss that takes about 10-15 minutes to complete.
Shaw will also task you with completing bounties. Bounties are a good source of XP, which you will need to level up your season rank and unlock rewards in the battle pass. Almost every vendor in Destiny 2 will have bounties for you.
Complete the Divide Lost Sector and bounties from Shaw to progress the quest and unlock the next phase.
Step 4 - Complete the quest Cold Boot
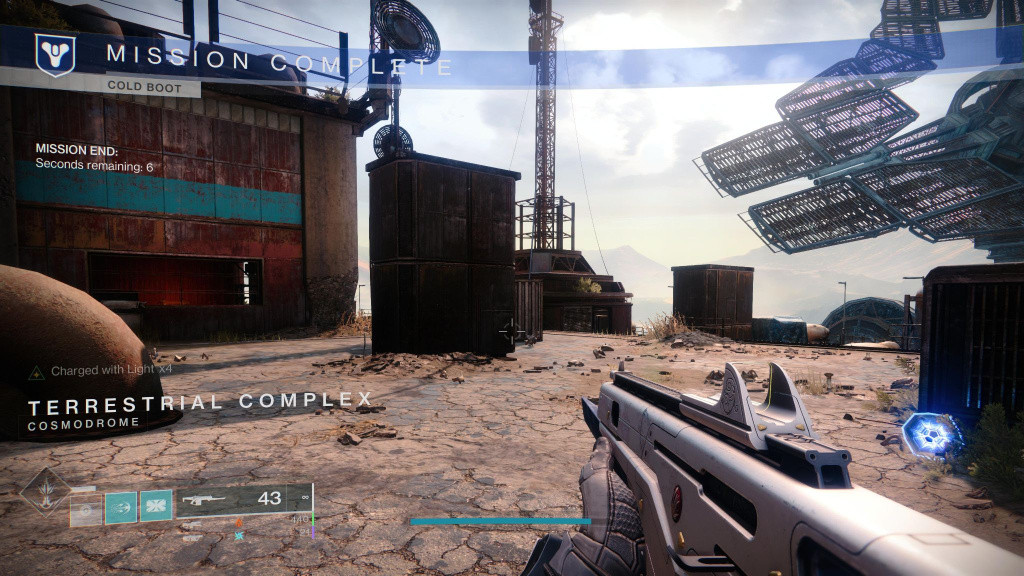
For this, Shaw you will send you to locate an Array, which you must activate to gain access to a chamber that contains something called a Superconductor. You will need it to get your first exotic weapon in the game (more on that later.)
The objectives are pretty self-explanatory. Go to the area, scan an object, defend your ghost while it scans it, survive, rinse and repeat. However, you will face relatively stronger enemies in this mission, such as the Revenant Knight and the exploding Hives, so be careful.
Once you have completed all the objectives, go back to Shaw's camp and meet with him.
Step 5 - Complete the mission Vendetta
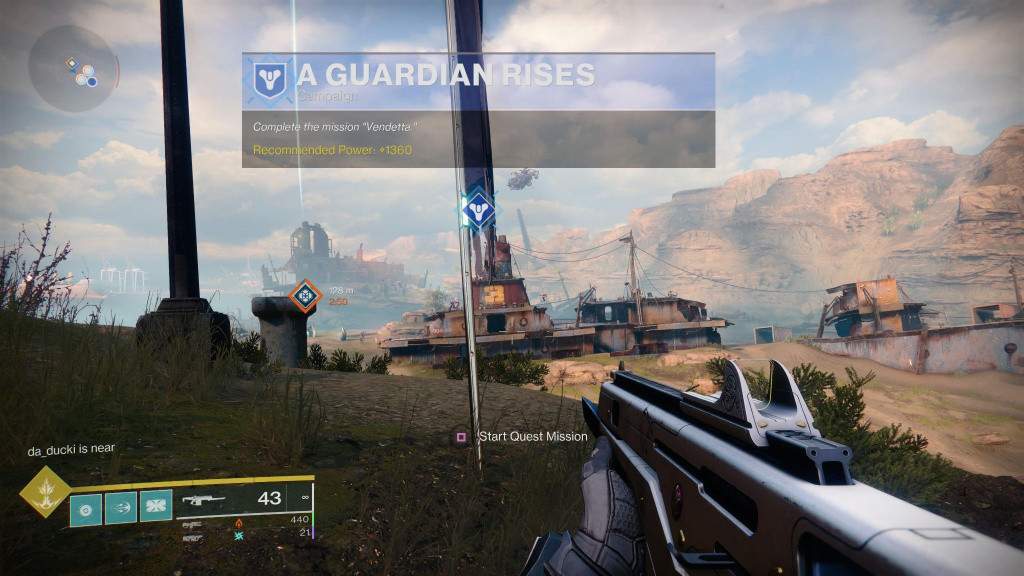
As soon as you turn up, you will notice Shaw has gone alone to take down Navota and has restricted access to that area to protect you. (Very noble of him, I must say, but also stupid.) Shaw will leave behind a Sparrow, the vehicle you can use to explore different areas of the planets.
Your task here is to generate a key for the chamber and save Shaw. The objectives are usual. Go to the marked location, scan an object, kill a few enemies and unlock the place you were looking for.
Once inside the chamber, you will have to briefly fight Novata. This battle is cut short when Novata decides to flee halfway. Find Shaw, collect the Superconductor, and head to the Last City.
Step 6 - Talk to folks in The Last City
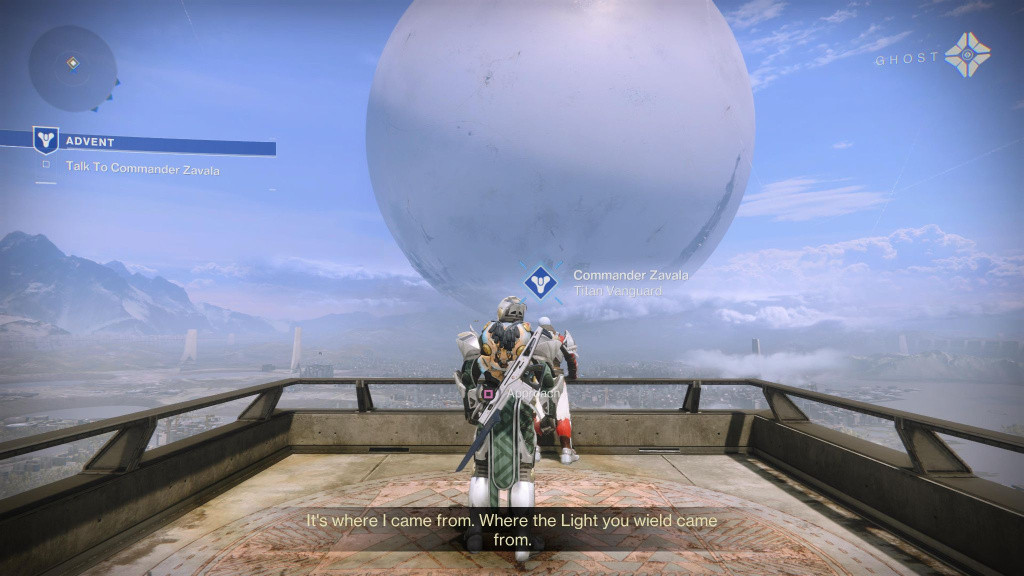
To reach The Last City, you have to access the mission indicator from the map. Once you're here, you will be tasked with talking to some of the prominent residents of the Tower. You will be seeing their faces a lot, so buckle up.
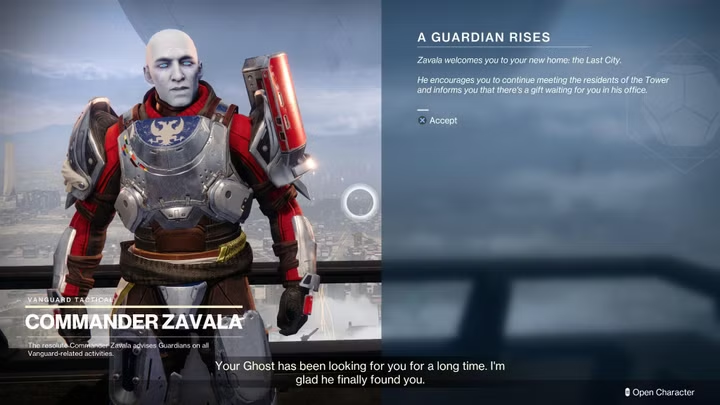
First is Zavala, the leader of Titan Vanguard. Zavala will give you a warm welcome you and send you off to meet other residents of the Tower. Next up is Ikora, the leader of Warlock Vanguard. Talking to Ikora will also unlock the option to customize your subclass abilities and gain access to the remaining three subclasses (more on that later.)
Next on the line is The Drifter, the Tower's expert on everything Gambit, the gam's PvEvP activity. The Drifter will also reward you with your first Sword. Make good use of it.
Moving on, you will visit Lord Shaxx, the Titan who supervises The Crucible, the game's PvP activity. Talking to Lord Shaxx will also grant you access to the game's Triumphs System.
Banshee-44, Destiny 2's gunsmith, is next on the line. Banshee will reward you with an energy weapon. You can pick up bounties and other valuable resources from the Banshee anytime.
Next up is Master Rahool, the Tower's Cryptarchs. Talking to Master Rahool will unlock the game's Seasons System, giving you access to all the Seasonal content of the game.
And that's pretty much it. Return to Zavala and prepare for the final mission of this quest.
Step 7 - Complete The Disgraced Strike
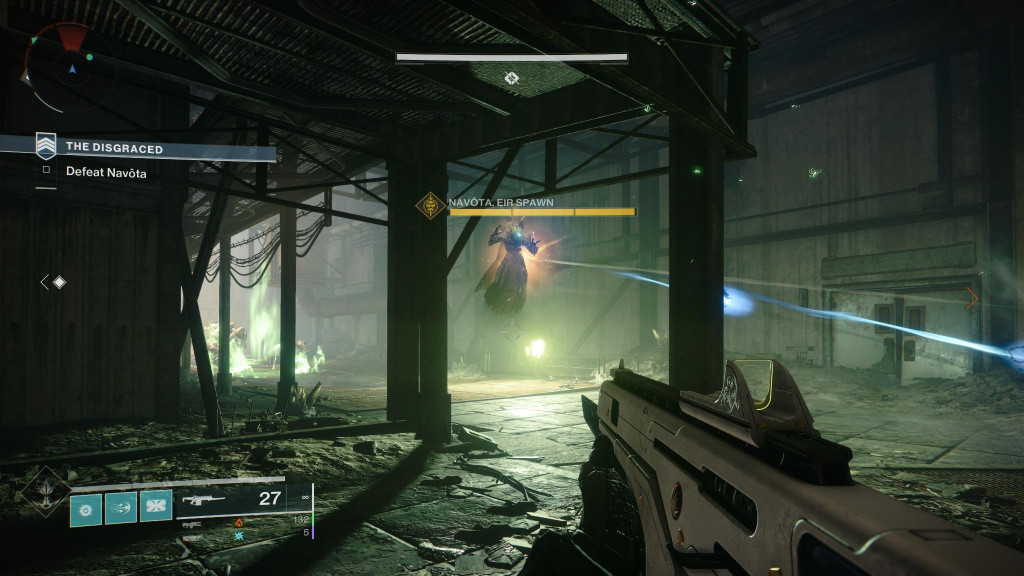
Zavala will task you with The Disgraced Strike, in which you will have to beat Navota once and for all (actually, no.) Strikes are three-player PvE activity in Destiny 2, something you will be running a lot to gain new weapons, armor, and valuable crafting resources.
This will be your most challenging encounter yet, so equip the right weapons and armor to battle Navota. Coordinating with other players is also essential for being successful in these tense encounters.
Defeating Navota will complete the Disgraced Strike and the A Guardians Rises quest and begin the A Spark of Hope exotic quest.
That concludes our A Guardians Rise quest guide in Destiny 2.
For more Destiny 2 news, be sure to check out our dedicated section or take a look at some of our Guides & Tutorials just below:
Weekly Updates - Destiny 2 Weekly Reset | Destiny 2 Weekly Challenges | Destiny 2 Xur Location This Week | Destiny 2 Trials of Osiris Map & Rewards This Week | Destiny 2 Lost Sector Rotation |
Upcoming Updates - Destiny 2 Season 19 Release Date | Destiny 2 The Dawning Event 2022| Destiny 2 Lightfall Release Date | Everything We Know About 'Destiny 2 The Final Shape'
Exotics, Catalyst & God Rolls - Alter of Reflection Catalyst Quest | Austringer God Roll | Calus Midi Tool God Roll | Dead Man's Tale God Roll | Fixed Odds God Roll | Hawkmoon God Roll | How To Get Come To Pass | How To Get Dawn Chorus | How To Get Omnioculus | How To Get Star-Eater Scales | Mechabre God Roll | Osteo Striga Catalyst | Riptide God Roll | Queens and Worms Quest
Game Guides - Destiny 2 Redeem Codes | How To Unlock All Subclasses | Memories of Ruin Puzzle Solution| Strikes Guide | Where To Farm Cabal | Where To Farm Fallen | Where To Farm Hive | Where To Farm Scorn | Where To Farm Vex | How To Get 100k Nightfall Score |
Raid Guides - Master King's Fall Totem Challenge Explained |
Featured image courtesy of Bungie.

 No ads, our video library,
