
Table of Contents
Dead by Daylight's new Blood Moon Event features a new type of gameplay mechanic: Blood Zones. These distinctive areas of the map provide a boost to survivors or killers who enter them, depending on which side created them. In this guide, we'll explain how Blood Zones work in Dead by Daylight during the Blood Moon Event, and what benefits you'll get from entering them.
How To Create Blood Zones In Dead by Daylight
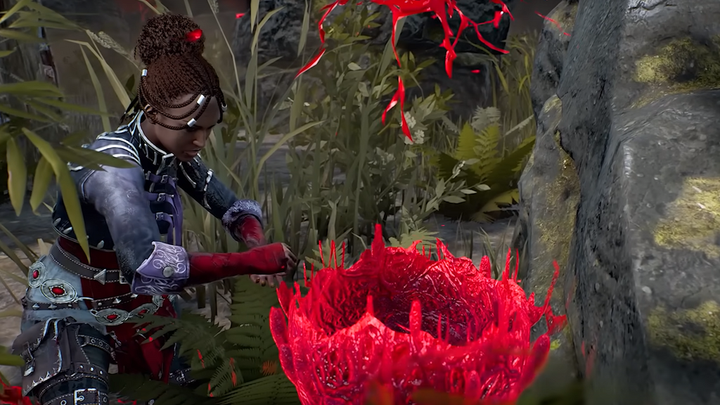
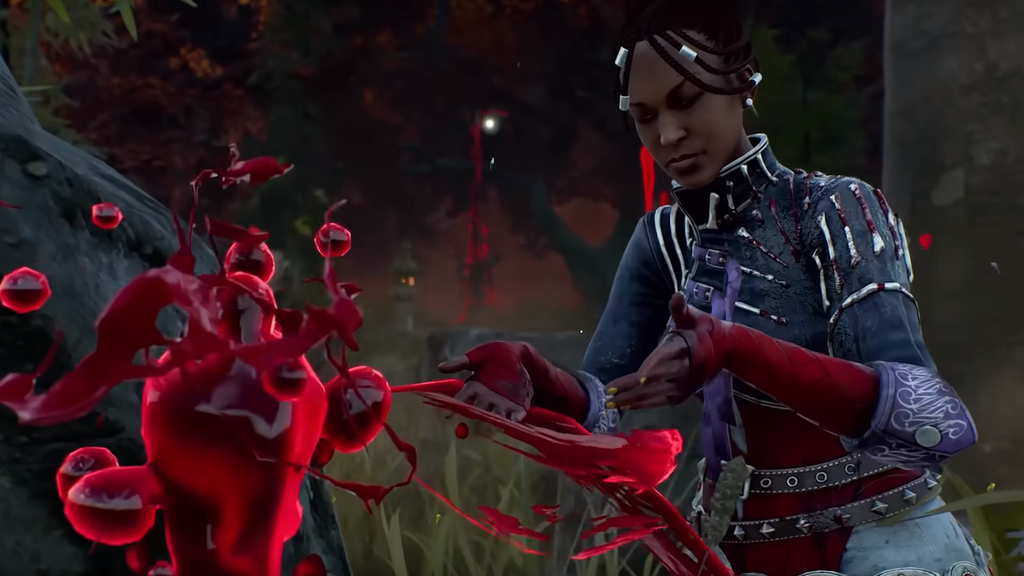
During Dead by Daylight's spring Blood Moon event, players can create Blood Zones that give them boosts. To create a Blood Zone, you'll need to earn up Blood Droplets by collecting them from areas around the map. Survivors can hold up to 1 Droplet, and start out with 0. Killers can hold up to 2 Droplets and start with 1.
You can then deposit those charges into a Blood Basin to create an active Blood Zone (to determine where the Blood Zones will be, pay special attention when they're revealed to you at the beginning of the match). Once you're in the active Blood Zone, you can reap the area's benefits.
Blood Zone Effects Explained
Blood Zones give different benefits to survivors and killers after the Blood Basins are filled. Here's what effects you'll get from stepping into a Blood Zone:
Killers
- Increased Lunge Attack duration by +1 second, and extended reach.
- Increased Cool-down time after a Lunge Attack by +2.14 seconds.
Survivors
- Reduces Grunts of Pain volume while injured by -50%.
- Reduces Grunts of Pain volume while injured by -100% when crouching.
- Reduces Blood Zones Removal Time by -50%.
- Reduces Blood Zones Removal time by -100% when crouching.
For more Dead by Daylight news be sure to check out our dedicated section, or some of our Guides & Tutorials, just below:
- The Best Artist Builds
- The Best Blight Builds
- The Best Cannibal Builds
- The Best Cenobite Builds
- The Best Chucky Builds
- The Best Clown Builds
- The Best Deathslinger Builds
- The Best Demogorgon Builds
- The Best Doctor Builds
- The Best Dredge Builds
- The Best Executioner Builds
- The Best Ghost Face Builds
- The Best Hag Builds
- The Best Hillbilly Builds
- The Best Huntress Builds
- The Best Knight Builds
- The Best Legion Builds
- The Best Mastermind Builds
- The Best Nemesis Builds
- The Best Nightmare Builds
- The Best Nurse Builds
- The Best Oni Builds
- The Best Onryō Builds
- The Best Pig Builds
- The Best Plague Builds
- The Best Shape Builds
- The Best Singularity Builds
- The Best Skull Merchant Builds
- The Best Spirit Builds
- The Best Trapper Builds
- The Best Trickster Builds
- The Best Twins Builds
- The Best Wraith Builds
- The Best Xenomorph Builds